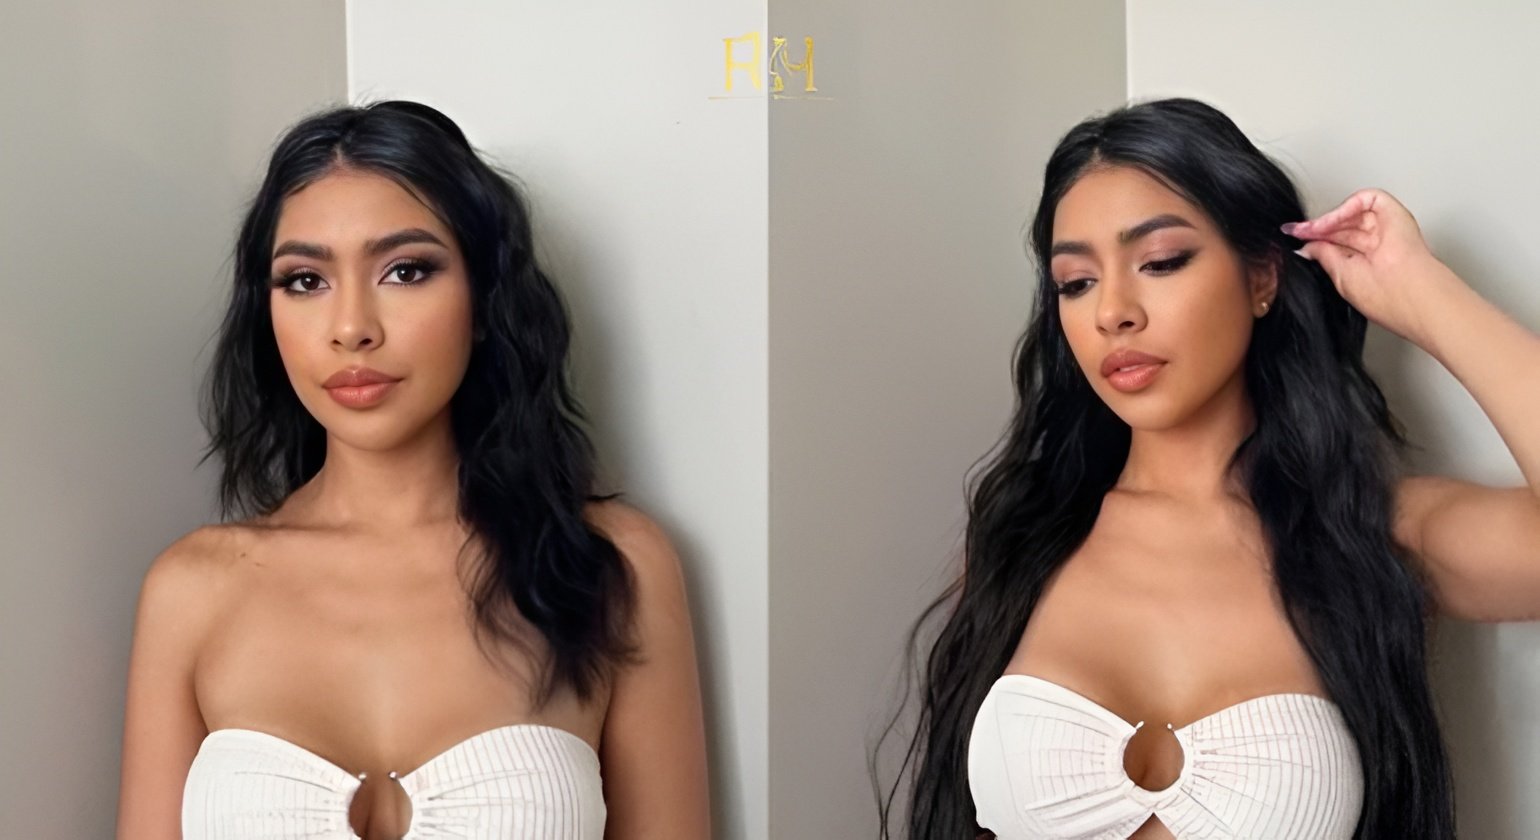
Let’s be honest for a second. We have all had those mornings where we look in the mirror and wish we could snap our fingers and suddenly have the volume of a 90s supermodel or the length of a mermaid. But waiting for hair to grow is like watching paint dry, and permanent extensions? They can be a serious commitment (and a serious hit to the wallet).
Enter the clip in hair extension. Think of them as the high heels of the hair world you put them on when you want to feel fabulous, and you take them off the moment you get home. But how do clip in hair extensions work, exactly? Are they heavy? Do they fall out? If you are curious about transforming your look in under ten minutes without glue or tape, you have come to the right place.
What Exactly Are Clip In Extensions?
Before we start clipping things onto our heads, let’s break down what we are actually dealing with. Clip in extensions are temporary hairpieces that attach to your natural hair using small, pressure-sensitive clips. Unlike tape ins or sew ins, which are semi-permanent, clip ins are zero commitment.
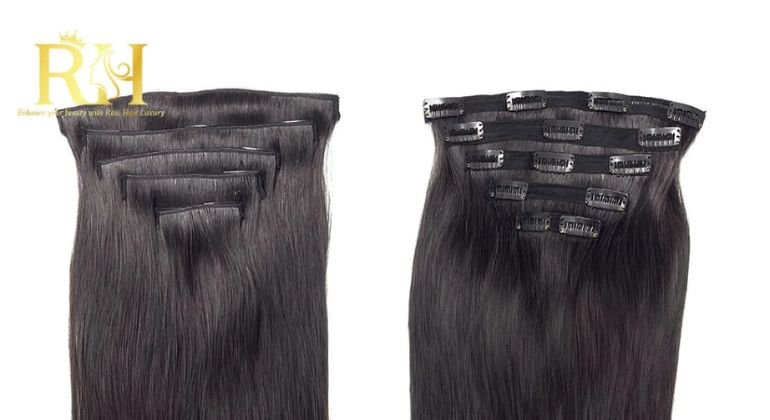
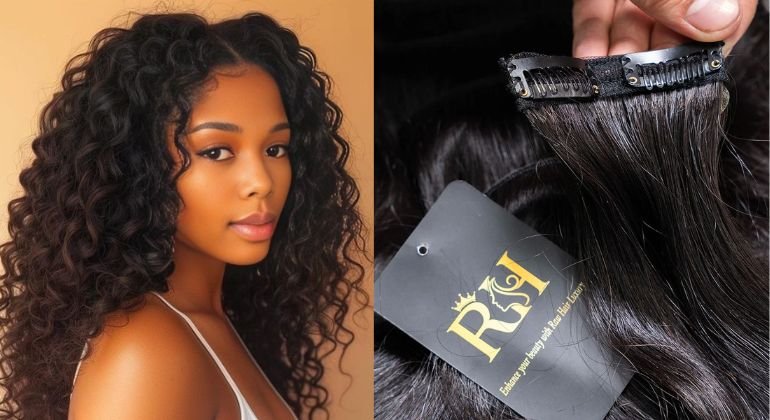
The Anatomy of a Weft
In the extension world, the strips of hair are called “wefts.” A standard set usually comes with multiple wefts of different widths.
- The Quad Wefts: These are wide strips with 3 or 4 clips, designed for the back of your head to add bulk.
- The Side Pieces: Smaller strips with 1 or 2 clips, meant to fill in the sides near your face.
At the top of each weft is a silicone-lined clip. This isn’t just a regular barrette; the silicone acts as a brake, creating friction so the hair doesn’t slide down your strands.
Human Hair vs Synthetic: What’s the Difference?
This is the fork in the road. You can buy synthetic hair (made of plastic fibers) or Remy human hair.
- Synthetic: Cheap and cheerful, but can’t be heat styled easily and often has an unnatural shine.
- Human Hair: Can be washed, curled, and dyed just like your own hair. It moves naturally and blends seamlessly.
The Mechanics: How Do Clip In Hair Extensions Work?
The mechanism is surprisingly simple yet effective. The clips operate on a snap-comb mechanism. You push the center to “open” the comb, slide it into your hair near the root, and snap it “closed.”
Imagine a tiny hair comb that locks its jaw. Once it’s snapped shut, it grabs onto a section of your hair securely. Because the weight is distributed across multiple clips and wefts, it shouldn’t pull or cause pain if applied correctly.
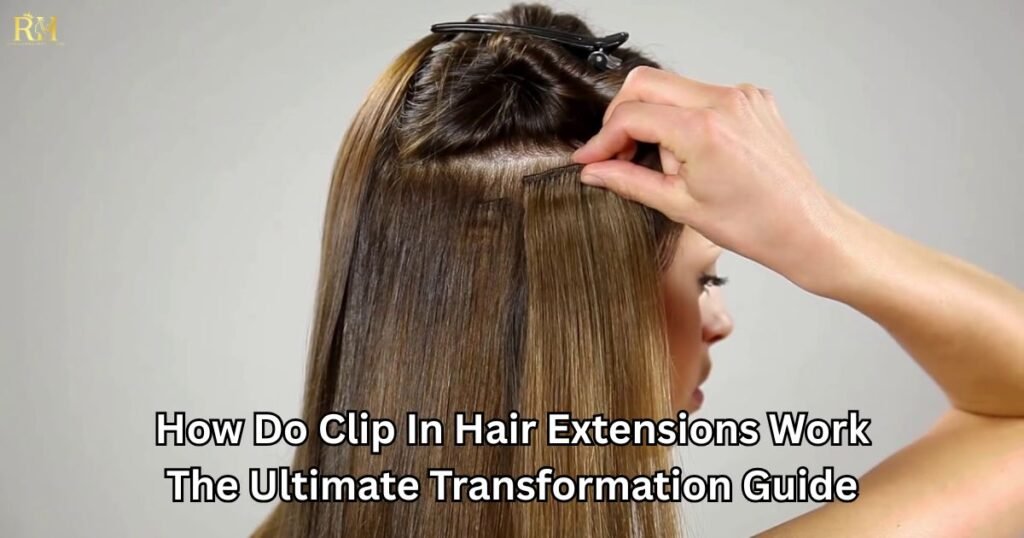
Step by Step Guide to Placing Clip In Hair Extensions
Getting them in is an art form, but don’t worry, it’s not rocket science. It’s mostly about architecture building from the bottom up. Here is the best way to go about placing clip in hair extensions.
Preparation: The Foundation for Success
Start with dry, brushed hair. Tangled hair is the enemy of extensions. Lay out your wefts on a table so you can see which ones are wide (for the back) and which are narrow (for the sides).
Sectioning Your Hair Like a Pro
You are going to stack these like layers of a cake.
- Use a tail comb or your finger to create a horizontal part across the nape of your neck, about an inch from the bottom hairline.
- Clip the rest of your hair up on top of your head.
- This bottom section is where your first weft goes.
The Snap and Grip Technique
Take a 3 clip weft. Open all the clips.
- Center the middle clip with the middle of your head.
- Catch a bit of your natural hair in the comb teeth.
- Snap it shut.
- Stretch the weft to the left and right, securing the side clips.
Repeat this process, moving up the back of your head in one-inch intervals. As you get to the widest part of your head (between your ears), use the widest wefts.
Pro Tip: Teasing for Extra Security
If you have fine or slippery hair, here is a secret weapon: Backcombing. Before you clip the weft in, tease the root of your natural hair slightly and give it a spritz of hairspray. This creates a “nest” for the clip to grab onto, ensuring it won’t budge even if you are dancing all night.
Clip In Hair Extensions How To Style
Okay, they are in. Now, how do you make sure you don’t look like you’re wearing a hair helmet? Learning clip in hair extensions how to style is crucial for making them look undetectable.
Blending the Seams
The biggest giveaway of extensions is the “disconnect” where your short natural hair ends and the long extensions continue. To fix this, don’t just brush the ends. Brush from the roots (carefully avoiding the clips) down to the tips to marry the two textures together.
Curling and Straightening with Extensions
If you have straight hair and bought wavy extensions, you’re going to clash. The best way to blend is to style your hair with the extensions in.
- Curling: Take a section that includes both your natural hair and the extension hair. Wrap them around the curling wand together. When they cool, they will be fused in the same wave pattern.
- Straightening: Run the flat iron over the ends to smooth your natural texture into the extension texture.
Note: Only use heat tools if you purchased 100% human hair extensions!

Finding the Perfect Match: Clip In Hair Extensions Near Me
You might be ready to buy, typing “clip in hair extensions near me” into Raw Hair Luxury. Here is what you need to know about shopping.
Shopping Local vs Online
Searching locally has a huge advantage: you can touch the hair.
- Beauty Supply Stores: Often carry a range of brands. You can hold the weft up to your hair in natural light to check the color.
- Salons: Some high-end salons sell professional grade clip-ins and will even cut them to frame your face.
However, online stores often have a wider inventory of lengths (from 16 inches to 24 inches) and specific colors (like balayage or root smudge) that local shops might stock less of.
Color Matching 101
Do not match the extensions to your roots! Match them to the ends of your hair. The extensions sit under your top layers, so they need to blend with the bottom half of your natural hair. If you are in between shades, go for the lighter one it looks like natural highlights.
Maintenance: Keeping Your Clips Fresh
Since these aren’t attached to your scalp permanently, they don’t get oily like your natural hair. This means you don’t need to wash them often.
Washing and Drying
Wash them only when they have too much product buildup (usually every 15 – 20 wears).
- Fill a sink with lukewarm water and sulfate-free shampoo.
- Dunk the hair and gently swish. Don’t scrub!
- Rinse and apply a deep conditioner.
- Lay them flat on a towel to air dry. Never wring them out like a wet rag.
Storage Solutions
Don’t just throw them in a drawer. Store them in a shoebox or a specialized extension hanger. Brushing them out before storing prevents you from opening a bird’s nest next time you want to wear them.
Common Myths Debunked
- “They stop hair growth.” False. Since you take them out to sleep, your scalp gets plenty of rest.
- “Everyone can tell.” Only if the color match is bad. Good clip-ins are virtually invisible.
- “They are uncomfortable.” They might feel heavy for the first 15 minutes, but you get used to the sensation very quickly.
Conclusion: Are Clip Ins Right for You?
So, how do clip in hair extensions work? They work by giving you freedom. They are the chameleon of the beauty world, allowing you to go from a bob to waist-length waves in minutes. They require no long term commitment, cause minimal damage compared to bonded methods, and are relatively affordable.
Whether you are prepping for a wedding, a hot date, or just want to feel a little more glamorous on
🔥Remember to visit our social media pages Hair Luxury now so you don’t miss out on the day’s deals!!!🔥
📲Phone/WhatsApp: +1 (206) 698‑5133
🛜Instagram: RAW HAIR LUXURY COMPANY
🌐Tik Tok: RAW HAIR LUXURY
📧 Email: Rawhairluxury.us
🌐Website: rawhairluxury.com