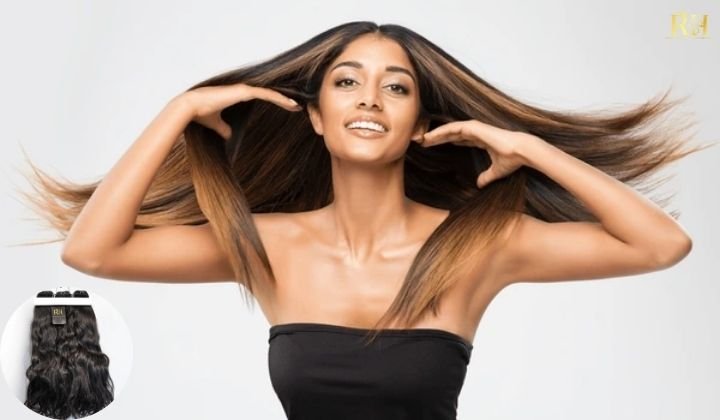
In the diverse world of hair enhancement, keratin hair extensions (often referred to as K-tips or Fusion extensions) are widely considered the “gold standard” of luxury hair integration. Unlike tape-ins or clip-ins, this strand-by-strand method offers 360-degree movement, making the extensions virtually invisible even when you pull your hair up into a high ponytail.
However, achieving that flawless, undetectable finish requires precision. It is not just about attaching hair; it is about sculpting bonds. If you are looking to master this technique or simply understand the process, this guide will walk you through exactly how to apply keratin hair extensions like a seasoned professional, while ensuring the health of the natural hair.
1. What Are Keratin Hair Extensions?
Before we dive into the application, it is essential to understand the material. Keratin hair extensions feature a small tip made of keratin protein—the same protein found in your natural hair.
During the application, this tip is melted using a specialized heat tool and rolled around a small section of the client’s natural hair.
- The Benefit: Because the bond shrinks as it cools, it becomes tiny and durable.
- The Look: This method allows for the most natural blending of colors and textures.
- Longevity: With proper care, these are among the longest-lasting extensions, staying in place for 3 to 6 months.
2. Preparation: The Foundation of Success
You cannot simply jump into the application. Learning how to apply keratin hair extensions begins with rigorous preparation. If the foundation is slipping, the extensions will slide out within weeks.
Essential Tools:
- Fusion Heat Connector Wand (temperature adjustable).
- Protector Shields/Discs (to protect the scalp).
- Rat-tail comb (for precise sectioning).
- Sectioning clips.
- Finger protectors (optional, to prevent burns).
- Clarifying Shampoo.
Prepping the Natural Hair:
The most critical rule is that the natural hair must be stripped of all oils and product buildup.
- Wash: Use a clarifying shampoo to deeply clean the hair.
- Skip Conditioner: Do not apply conditioner or styling products before installation. The hair needs to be “squeaky clean” and completely dry for the keratin bond to adhere correctly.
3. The Process: How to Apply Keratin Hair Extensions
Warning: This process involves high heat. Proceed with caution.
Step 1: Strategic Sectioning
Start at the nape of the neck. Use your rat-tail comb to create a clean horizontal parting about 1 to 2 inches up from the bottom hairline. Clip the rest of the hair away securely.
- Pro Tip: Leave a “perimeter” of natural hair around the hairline and neck. You never want to apply extensions right at the edge, or they will be visible when the hair is tied up.
Step 2: Inserting the Shield
Isolate a small strand of natural hair. The density of this strand should match the density of the extension strand to prevent weight tension (traction alopecia).
- Thread this strand through the hole of the protector shield.
- Slide the shield up so it rests flat against the scalp. This protects the skin from the hot tool and prevents stray hairs from getting stuck in the glue.
Step 3: Placement and Heating
Place the keratin hair extension strand under the natural hair strand. Ideally, the bond should sit about 1/4 inch (approx. 0.5 – 1cm) away from the scalp.
- Correction: Do not place it too close to the scalp, or it will cause pain and stick out. Do not place it too far down, or it will drag.
- Apply Heat: Use the connector wand to clamp down on the keratin tip. Hold for 2-5 seconds (depending on the tool’s heat) until you see the keratin bubble slightly and melt into the natural hair.
Step 4: Rolling the Bond (The Art Form)
This is the step that separates amateurs from pros.
- Remove the heat tool.
- Immediately use your thumb and forefinger to roll the melted keratin.
- The Motion: Roll it back and forth firmly to fuse the extension with the natural hair. You want to shape the bond into a smooth, rice-grain shape. It should be sealed tightly at the top and bottom so no water can enter the bond.
Step 5: Repeat and Brick lay
Continue this process row by row. As you move up the head, use a “bricklaying” pattern. This means the bonds of the upper row should sit between the bonds of the lower row. This ensures full coverage and prevents gaps.
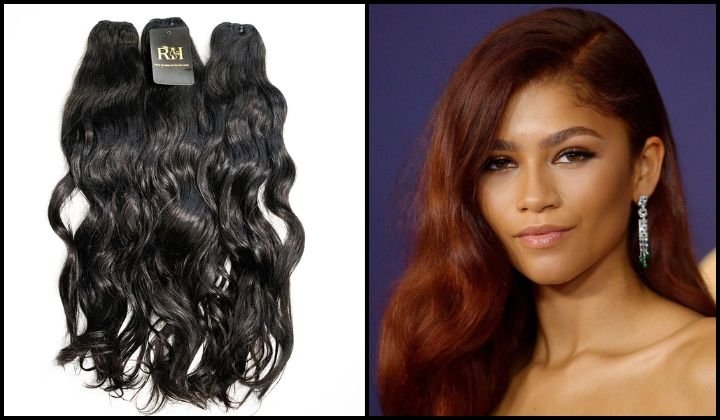
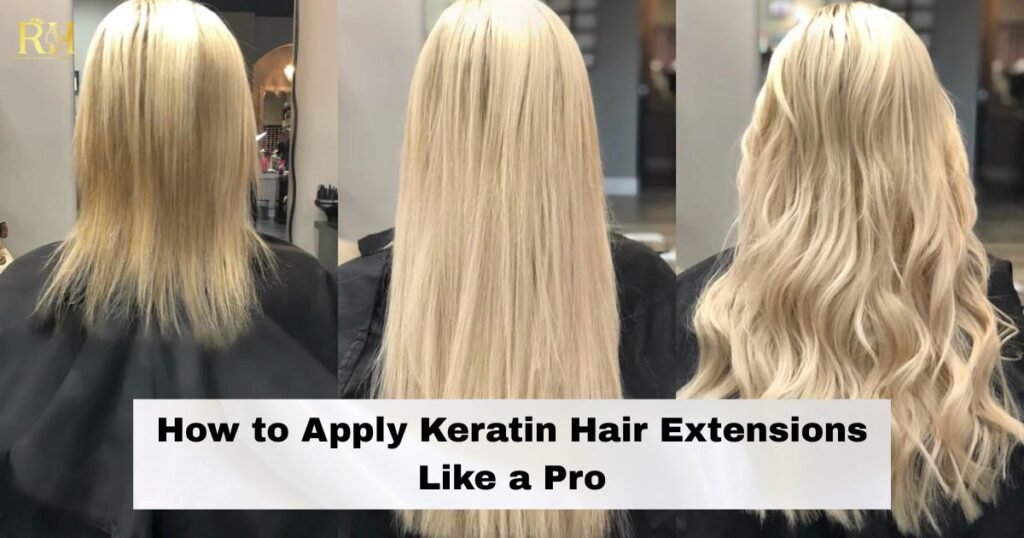
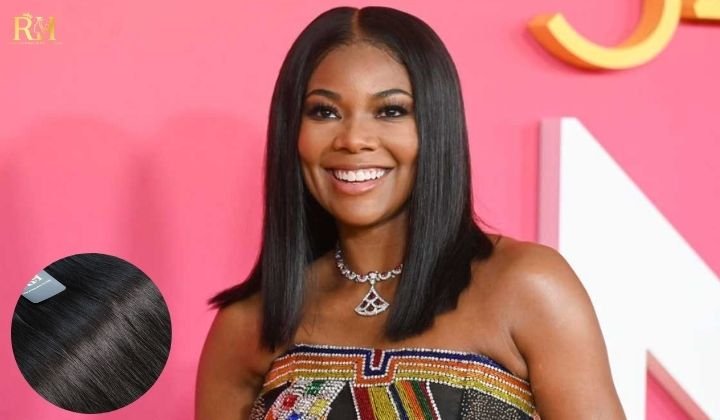
4. Keratin Hair Extensions Before and After: The Transformation
The visual impact of this method is undeniable. When looking at keratin hair extensions before and after photos, the transformation is often seamless.
- Before: Clients may struggle with thin ends, lack of volume, or an awkward grow-out phase from a bob cut.
- After: The result is a waterfall of hair that looks like it grew directly from the root.
Because K-tips are applied strand-by-strand, you can mix colors. If a client has highlights, you can alternate between light and dark extension strands to create a custom Balayage effect without ever putting bleach on the natural hair. This color blending capability is why the “after” results look so hyper-realistic.
5. How to Maintain Keratin Hair Extensions
Knowing how to apply keratin hair extensions is useless if they slide out or get matted due to poor care. Maintenance is 50% of the success. Here is the ultimate care routine for longevity.
The 48-Hour Rule
Do not wash your hair for at least 48 hours after application. The keratin bonds need time to fully cure and harden. Washing too soon can cause the bonds to turn white and break down.
Washing Protocol
- Shampoo: You must use a Sulfate-Free and Alcohol-Free shampoo. Sulfates strip the hair, and alcohol can disintegrate the bond.
- Conditioning: Apply conditioner only from the mid-lengths to the ends. Never put conditioner or oils near the roots or directly on the bonds, as this will lubricate them and cause them to slide out.
Brushing Technique
You need a special loop brush or a soft boar bristle brush.
- Hold the hair at the roots (like a ponytail) to support the bonds while you brush the ends.
- Gently brush over the bonds at the scalp to prevent matting at the root, but do not snag them.
- Tip: Brush at least twice a day to prevent dreadlocking at the root area.
Heat Styling and Sleeping
- Heat: You can curl and straighten your hair, but keep the hot tools away from the bonds. Direct heat will melt the keratin and ruin the extension.
- Sleeping: Never sleep with wet hair. Wet bonds are weak bonds. Pull your hair into a loose braid or a low ponytail and use a silk pillowcase to reduce friction while you sleep.
6. Conclusion
Mastering how to apply keratin hair extensions is a journey that requires patience, a steady hand, and an artistic eye. Unlike temporary methods, this is a commitment to a lifestyle of luxury hair.
By following this step-by-step guide and adhering strictly to the advice on how to maintain keratin hair extensions, you can enjoy months of voluminous, flowing hair that moves naturally with you. Whether you are looking to add a few inches of length or double your volume, the effort put into the application process will pay off every time you look in the mirror.
🔥Remember to visit our social media pages Hair Luxury now so you don’t miss out on the day’s deals!!!🔥
📲Phone/WhatsApp: +1 (206) 698‑5133
🛜Instagram: RAW HAIR LUXURY COMPANY
🌐Tik Tok: RAW HAIR LUXURY
📧 Email: Rawhairluxury.us
🌐Website: rawhairluxury.com