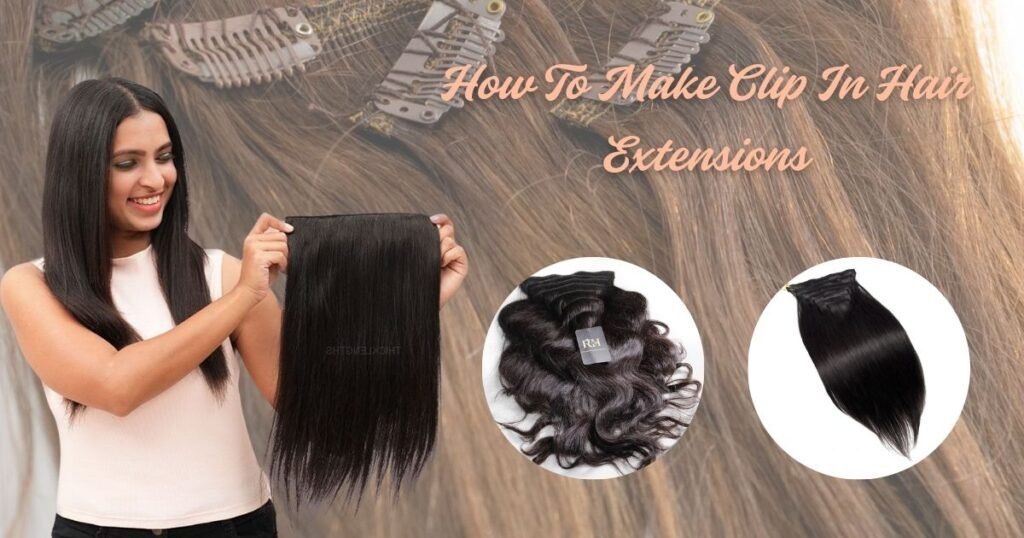
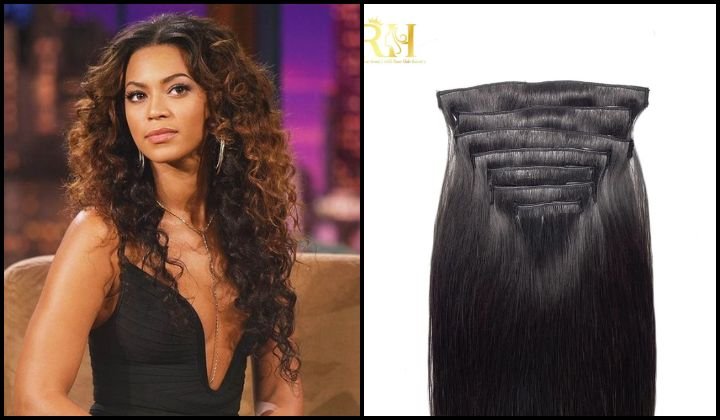
Hair extensions have long been the beauty industry’s best-kept secret for achieving voluminous, cascading locks overnight. Among the myriad of options available, clip in hair extensions reign supreme as the most versatile, non damaging, and user friendly method. They allow you to transform your look in minutes without the commitment of glue, tape, or sew ins.
However, finding the perfect set one that matches your exact root color, desired volume, and head shape can sometimes be a challenge (and expensive). This is where learning how to make clip in hair extensions becomes a game changer.
In this comprehensive guide, we will walk you through the process of creating your own custom set. From selecting the best materials to the clip in hair extensions step by step assembly, you will learn everything needed to craft professional grade extensions right at home. We will also touch upon sourcing wholesale clip in hair extensions for those looking to turn this skill into a business.
Why Learn How to Make Clip In Hair Extensions?
Before we dive into the tutorial, you might wonder: “Why not just buy them?” While pre-made sets are convenient, crafting your own offers unique advantages.
1. Ultimate Customization
When you buy a standard pack, you get a fixed number of wefts and a standard density. By making them yourself, you control the volume. You can double or triple-stack wefts to create a “mega volume” set that isn’t available in stores. Furthermore, you can mix two or three different shades of hair wefts to create a perfect balayage or lowlight effect that seamlessly blends with your natural hair.
2. Cost-Effectiveness
High-quality finished extensions can have a high markup. Often, purchasing a bundle of raw hair wefts and a pack of clips is significantly cheaper than buying a branded, pre made set. This is especially true if you know where to source materials or have access to wholesale clip in hair extensions.
3. Perfect Fit
Everyone’s head shape is different. Standard sets might be too wide for your nape or too narrow for your crown. When you learn how to make clip in hair extensions, you measure them against your own head, ensuring a bespoke fit that is comfortable and invisible.
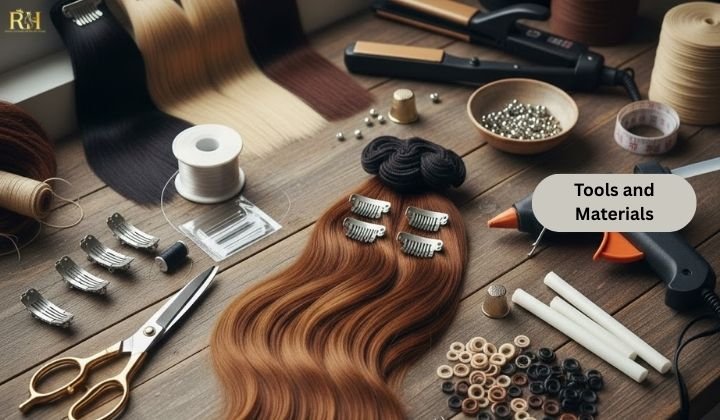
Tools and Materials: What You Need
To achieve a salon quality finish, you need the right tools. Don’t skimp on the quality of the hair or the clips, as these determine the lifespan of your extensions.
- Hair Wefts (The Foundation): Always opt for 100% Remy human hair. This hair has cuticles aligned in the same direction, preventing tangles and ensuring the hair remains soft and style able. Synthetic hair is difficult to sew and cannot be heat-styled.
- Wig Clips (Snap Clips): Look for U-shaped snap clips that come with a silicone backing or rubber bar. This silicone strip is crucial it protects your natural hair from breakage and prevents the extensions from slipping down throughout the day.
- Needle and Thread: A curved weaving needle (c needle) is easier to maneuver through hair wefts than a straight needle. Use heavy duty weaving thread (nylon or cotton) that matches the hair color perfectly.
- Fabric Scissors: For clean cuts through the weft track.
- Measuring Tape: To map out your head.
- Hair Bonding Glue (Optional): Used to seal the cut edges of the weft to prevent shedding.
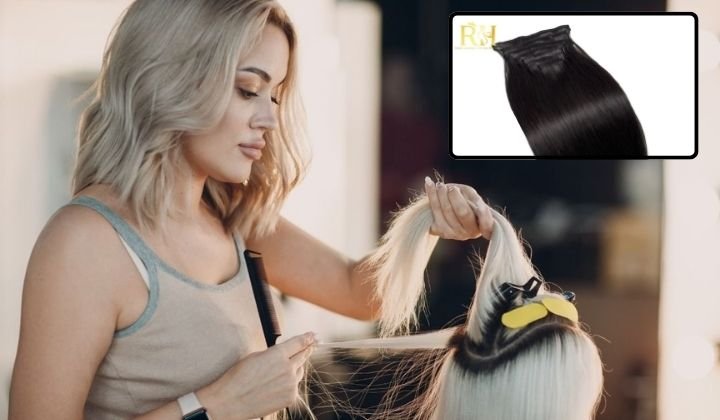
How to Make Clip In Hair Extensions Step by Step
Ready to start crafting? Follow this detailed clip in hair extensions step by step guide to creating your custom set.
Step 1: Map and Measure Your Head
A standard full-head set typically consists of 7 to 10 pieces. To ensure they fit, measure the back of your head from ear to ear at different levels.
- Nape Piece: usually 3 – 4 inches wide (2 clips).
- Lower Head: usually 5 – 6 inches wide (3 clips).
- Mid-Head (Widest part): usually 7 – 8 inches wide (4 clips).
- Side Pieces: usually 1 – 2 inches wide (1 clip) for framing the face.
Tip: Write down these measurements so you can cut your wefts accurately.
Step 2: Cut and Seal the Wefts
Lay your long hair bundle on a flat surface. Using your measurements, cut the weft track into the desired segments.
- Pro Tip for Volume: If you want thick extensions, cut two pieces of the same length and sew them together (stacking) before attaching the clips. This doubles the density without taking up more space on your head.
- Sealing: If you cut the weft, the edges might shed. Dab a tiny amount of hair bonding glue or clear nail polish on the very ends of the cut track to seal the threads. Let it dry completely.
Step 3: Positioning the Clips
Placement is key for comfort.
- Place the clips on the “rough” side of the weft (the side that will face your scalp).
- The “teeth” of the comb should face upward, towards the top edge of the weft.
- Distribute them evenly. For a 3 – clip weft, place one at each end and one in the exact center.
Step 4: Sewing the Clips
This is the most critical part of learning how to make clip in hair extensions.
- Thread your needle and tie a strong knot at the end.
- Pass the needle through the hole in the clip and through the reinforced top of the weft track.
- Loop around the edge of the clip to anchor it securely.
- Sew through each hole in the clip at least 3–4 times.
- Make sure the clip is tight against the track so it doesn’t flop around.
- Knot the thread securely and trim the excess.
Repeat this process for every clip on every weft piece.
Step 5: Final Touches
Once all clips are sewn, give the extensions a gentle brush. Check for any loose threads. At this stage, you can take them to a stylist to have them trimmed or layered to blend perfectly with your natural hair.
Sourcing Materials: The Role of Wholesale Clip In Hair Extensions
If you enjoy this process, you might realize there is a business opportunity here. Many stylists and entrepreneurs source wholesale clip in hair extensions or raw wefts to sell to clients.
For Business Owners
If you plan to sell extensions, you have two paths:
- Buying Raw Wefts: You buy high-quality hair in bulk (wholesale) and hand-make custom clip-ins for clients as a premium service. This allows for high profit margins and personalization.
- Buying Pre-Made Wholesale: You source finished wholesale clip in hair extensions from manufacturers. This requires less labor but demands rigorous quality control to ensuring the clips are secure and the hair is true Remy quality.
When looking for a supplier, always ask for samples first. Test the hair by washing and heat-styling it to ensure it holds up. A reliable wholesale partner is the backbone of any successful hair business.
Care and Maintenance for Your DIY Extensions
You spent time making them; now you must protect them. Homemade extensions need the same love as store-bought ones.
- Washing: Only wash them when absolutely necessary (every 15–20 wears). Use sulfate-free shampoo.
- Storage: Store them in a dry box or hang them up. Never ball them up in a drawer.
- Styling: Always use a heat protectant spray before curling or straightening.
Conclusion
Learning how to make clip in hair extensions is a rewarding skill that gives you complete control over your hairstyle. Whether you are doing it to save money, achieve a custom look that stores can’t offer, or start a new business venture using wholesale clip in hair extensions, the effort is well worth it.
With your new custom set, you can enjoy the confidence boost of full, glamorous hair knowing it was crafted perfectly for you, by you. Grab your needle and thread—your dream hair is just a few stitches away!
🔥Remember to visit our social media pages Hair Luxury now so you don’t miss out on the day’s deals!!!🔥
📲Phone/WhatsApp: +1 (206) 698‑5133
🛜Instagram: RAW HAIR LUXURY COMPANY
🌐TikTok: RAW HAIR LUXURY
📧 Email: Rawhairluxury.us
🌐Website: rawhairluxury.com