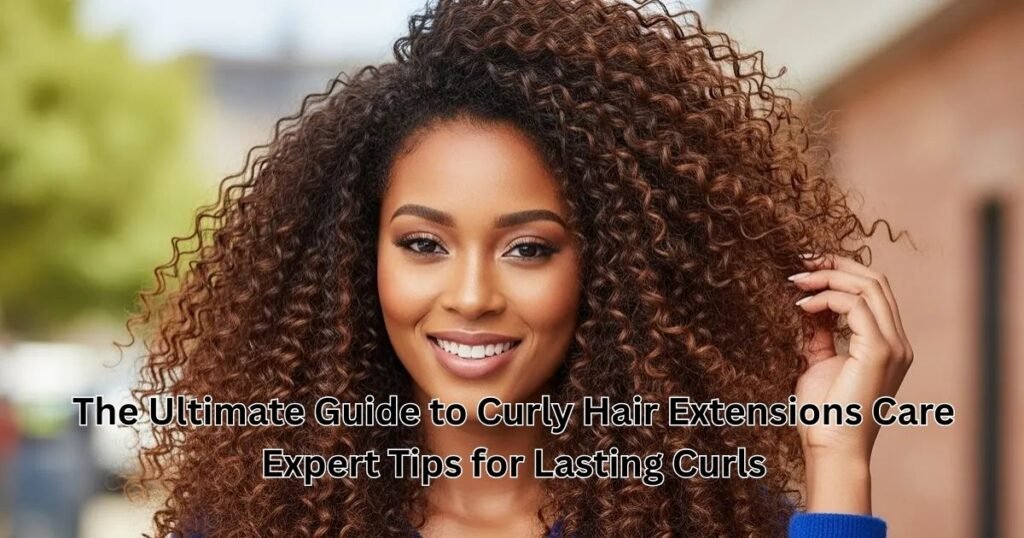
Curly hair extensions care are a beautiful investment, offering instant volume, length, and that coveted bounce. However, unlike straight hair, curly textures require a specific, high moisture approach to prevent the dreaded “frizz halo” or “birds nest” matting. If you want your extensions to look as fresh on day 60 as they did on day one, you need a professional grade maintenance strategy.
This comprehensive guide covers everything from the science of curl hydration to the exact products and techniques used by elite stylists. Whether you are wearing clip ins, sew ins or tape ins, these expert tips will ensure your curly hair extensions remain vibrant, soft, and perfectly defined.
Understanding the Unique Needs of Curly Textures
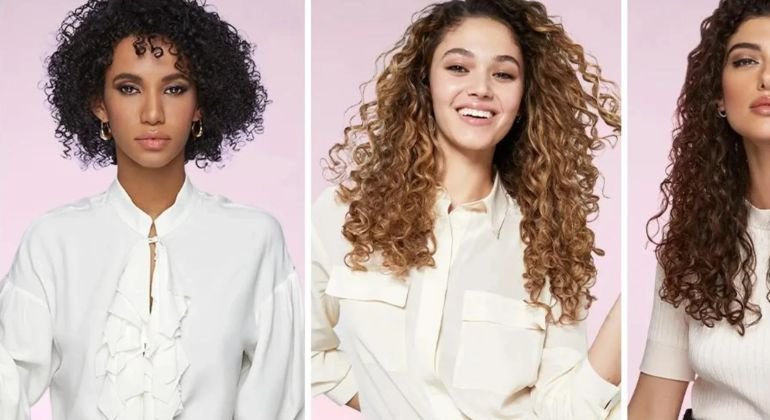
The primary challenge with curly hair extensions is that they do not receive the natural sebum (oils) from your scalp that your own hair does. Because the hair is often steam processed or chemically textured to achieve its curl pattern, the cuticles are more porous and prone to dryness. Without a consistent moisture-replenishment routine, the hair becomes brittle, loses its elasticity, and tangles easily.
To master curly hair extensions care, you must shift your focus from “cleaning” to “hydrating and defining.”
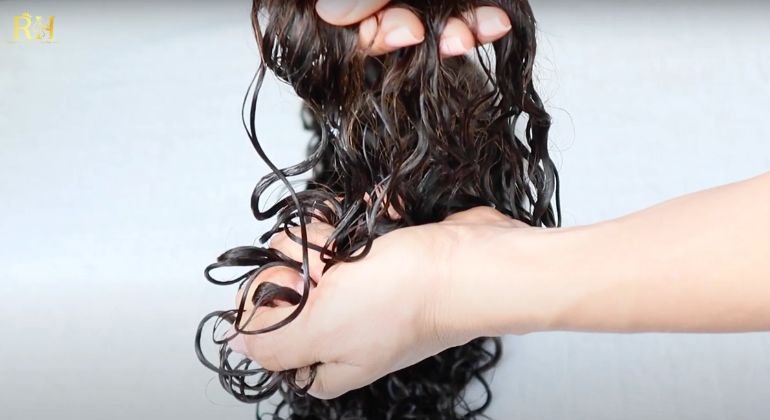
1. The Golden Rule: Detangle Only When Wet
One of the most common mistakes in curly hair extension maintenance is reaching for a brush while the hair is dry. Brushing dry curls snaps the hair fibers, creates massive frizz, and can even pull the extensions away from their attachment points.
How to Detangle Properly:
- Saturate First: Never attempt to detangle without “slip.” Use a spray bottle with water and a leave-in conditioner or perform this step during your conditioning phase in the shower.
- The Bottom Up Method: Always start at the ends. Gently work through the knots at the tips before moving toward the mid-lengths and roots.
- Use the Right Tools: Swap your standard brush for a wide-tooth comb or a dedicated detangling brush (like a Denman brush) that doesn’t have balls on the tips of the bristles, which can snag on the wefts.
2. Washing Strategy: Less is More
Over washing is the fastest way to ruin your extensions. Most experts recommend washing curly hair extensions no more than once every 7 to 10 days for clip-ins, or twice a week for permanent installs like sew ins.
How to Wash Curly Hair Extensions Without Damage
- Preparation: Detangle the hair thoroughly while dry (using only your fingers) or damp before the full wash.
- Temperature Matters: Use lukewarm water. Hot water opens the cuticle too wide, leading to moisture loss and frizz.
- The “Vertical” Technique: Keep the hair hanging naturally. Never wash your hair upside down over a sink, as this causes the hair to flip and mat at the roots.
- Squeeze, Don’t Scrub: Gently massage sulfate-free shampoo into the scalp or the top of the wefts. Allow the suds to flow down the lengths. Do not bunch the hair up or rub it against itself.
3. Hydration is Not Optional: Best Products for Curly Hair Extensions
To maintain the best products for curly hair extensions, you must use products that mimic the hair’s natural oils. Look for ingredients like argan oil, shea butter, and silk proteins.
- Sulfate Free Shampoo: Sulfates are harsh detergents that strip moisture. Always opt for “sulfate-free” and “paraben-free” formulas.
- High Slip Conditioners: You need a conditioner that allows the comb to glide through. Look for “moisture-rich” labels.
- Leave In Conditioners: This is your daily defense against frizz. A lightweight, water-based leave in spray keeps the curls clumped and hydrated.
- Avoid Proteins: Unless your stylist recommends it, avoid “repair” or “strengthening” products that are heavy in protein. Too much protein can make extensions feel stiff and “crunchy.”
4. The Power of Deep Conditioning
Once every two weeks, your extensions need a “reset.” A deep conditioning mask or a silicone based treatment can penetrate the hair shaft to restore elasticity.
Pro Tip: Apply your mask from the mid lengths down. Avoid the attachment points (bonds, tapes, or clips) as the oils in the mask can cause the extensions to slip or the glue to weaken. Leave the treatment on for 20 – 30 minutes, ideally under a plastic cap to trap natural heat.
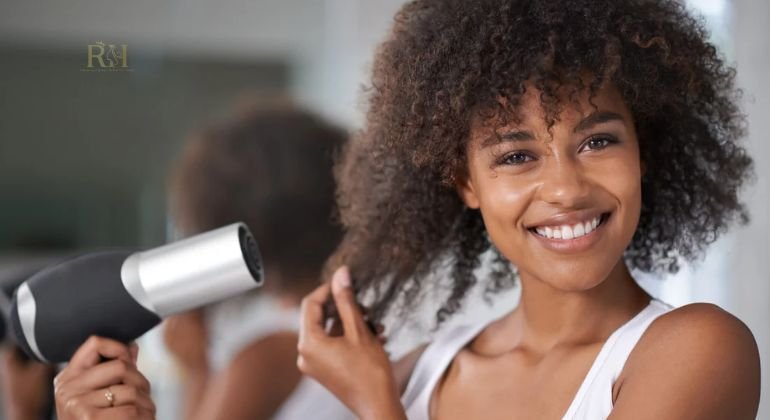
5. Drying for Definition: Skip the Blow Dryer
Heat is the enemy of longevity. Whenever possible, let your curly hair extensions air dry.
- The Microfiber Rule: Replace your heavy cotton towel with a microfiber towel or an old cotton T shirt. These materials absorb water without disrupting the curl pattern or causing friction induced frizz.
- Scrunching: After applying your curl cream, gently scrunch the hair upward toward the weft. This encourages the natural curl to form.
- The Diffuser Exception: If you must use a dryer, use a diffuser attachment on the “cool” or “low heat” setting. This spreads the airflow so the curls aren’t blown apart into a frizzy mess.
6. Nighttime Protection: The Pineapple and Silk Method
The friction of your head moving against a cotton pillowcase all night creates tangles and saps moisture.
- The Silk Bonnet: Wearing a silk or satin bonnet is the single best way to preserve your curls overnight.
- The “Pineapple” Style: Gather your curls into a very loose, high ponytail on the top of your head using a silk scrunchie. This prevents you from sleeping directly on the curls and keeps the pattern intact.
- Never Sleep Wet: Sleeping on damp extensions is a recipe for mold, mildew, and irreversible matting. Ensure your hair is 100% dry before your head hits the pillow.
7. Reviving “Day 3” Curls
You don’t need to wash your hair to make it look good again. To refresh your style:
- Mix 70% water and 30% leave-in conditioner in a spray bottle.
- Mist the hair until it is slightly damp.
- Gently finger coil any stray or frizzy sections.
- Apply a tiny drop of hair oil to the ends for shine.
8. Common Problems and Professional Solutions
Problem: My extensions feel like straw.
- Solution: This is likely product buildup or mineral deposits from hard water. Use a gentle clarifying shampoo (roots only) followed by an intensive steam conditioning treatment.
Problem: The curls are falling flat.
- Solution: Curly hair extensions can “get tired.” Try a heatless styling method like flexi-rods or braid-outs on damp hair overnight to redefine the pattern without using a curling iron.
Problem: Extreme matting at the nape of the neck.
- Solution: This usually happens due to friction from sweaters or scarves. Carry a small detangling spray and a wide-tooth comb in your bag to give the nape area a quick “check” halfway through the day.
Summary: A Checklist for Success
- Daily: Mist with water/leave-in, finger-detangle, and sleep in a silk bonnet.
- Weekly: Wash once with sulfate-free products, focusing on the vertical rinse.
- Bi Weekly: Deep condition for 20 minutes (avoiding the bonds).
- Every 6 – 8 Weeks: Visit your stylist for a professional “move-up” and a trim to remove any split ends on the extensions.
Curly hair extensions are more than just an accessory; they are a lifestyle choice that requires dedication. By following this professional curly hair extensions care routine, you aren’t just maintaining hair—you are protecting your investment and ensuring you look flawless every single day.
🔥Remember to visit our social media pages Hair Luxury now so you don’t miss out on the day’s deals!!!🔥
📲Phone/WhatsApp: +1 (206) 698‑5133
🛜Instagram: RAW HAIR LUXURY COMPANY
🌐Tik Tok: RAW HAIR LUXURY
📧 Email: Rawhairluxury.us
🌐Website: rawhairluxury.com