
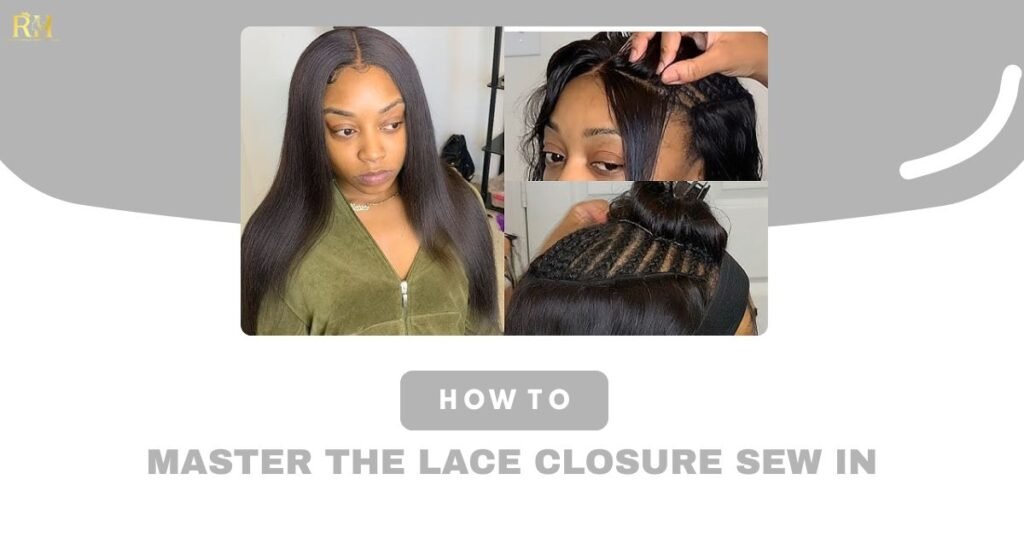
If you are looking for a hairstyle that offers the perfect balance of protection, versatility, and a natural finish, the lace closure sew in is the undisputed champion. Unlike high-maintenance frontals or daily glue less wigs, a closure sew-in offers a secure “wake-up-and-go” solution that protects your natural hair while looking undeniably chic.
Whether you are a DIY enthusiast or a stylist looking to refine your technique, this comprehensive guide covers everything from choosing the right hair to the step-by-step installation process.
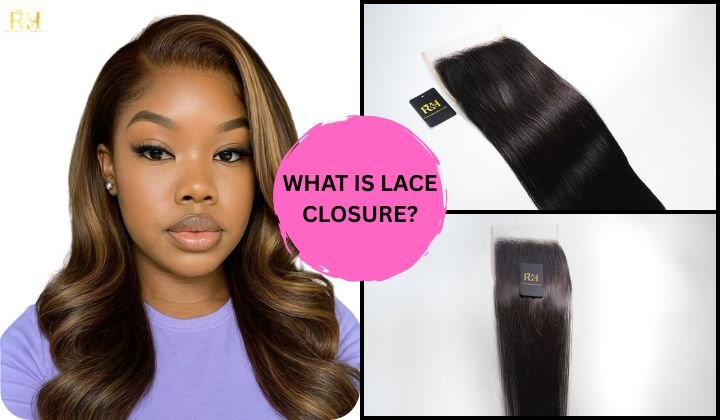
What is a Lace Closure?
Before diving into the installation, we must define the centerpiece of this style.
Semantically, Google defines a lace closure as a hairpiece, typically ranging in size from 4×4 to 7×7 inches, where human hair strands are hand-tied into a mesh lace base. Its primary purpose is to “close off” a weave installation at the crown of the head.
Unlike a frontal that covers the entire hairline from ear to ear, a lace closure only covers the top center area. This creates a realistic parting space (middle or side) and mimics the appearance of a natural scalp without requiring adhesive on the delicate hairline edges.
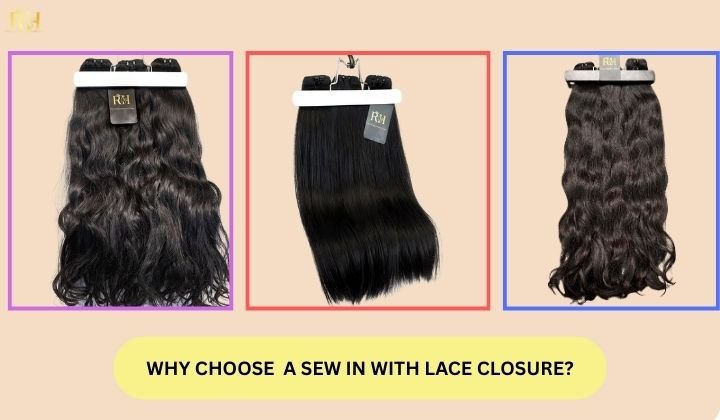
Why Choose a Sew In with Lace Closure?
The sew in with lace closure method has remained a top trend for years. Here is why it is superior to other methods:
- Protective Styling: All of your natural hair is braided down beneath the install. This gives your real hair a break from heat styling and environmental manipulation.
- Low Maintenance: Unlike frontals that may lift after a few days of sweating or sleeping, a closure is sewn down securely. It does not require daily gluing or baby hair styling.
- Scalp Reality: With high-quality HD or transparent lace, the closure blends seamlessly, giving the illusion that the hair is growing directly from your scalp.
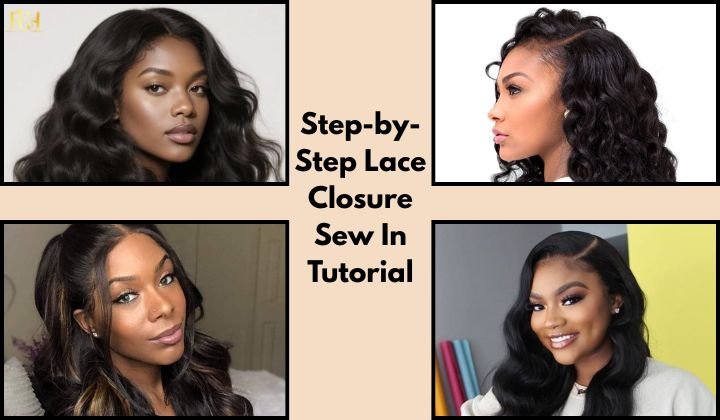
Step-by-Step Lace Closure Sew In Tutorial
Achieving that “melted” look requires precision. Follow this professional workflow for a secure and flat install.
Step 1: Foundation is Key
A flat sew-in starts with flat braids. Create a braiding pattern that anchors the closure.
- The Anchor Braids: Create two small, tight braids straight back where the closure will sit (center or side).
- The Rest: Braid the remaining hair into a beehive or straight-back pattern. Sew down the ends of the braids so the foundation is completely flat.
Step 2: Prepare the Lace Closure
Before sewing, customize the piece.
- Bleach the Knots: Gently bleach the knots on the underside of the lace to hide the black dots.
- Pluck the Parting: Use tweezers to pluck the hairline and parting space to remove the “bulky” density, creating a natural gradient.
- Tint the Lace: Apply a lace tint or foundation to the underside of the mesh to match your skin tone perfectly.
Step 3: Sew Down the Closure
- Positioning: Place the lace closure just in front of the hairline (about 1cm).
- Stitching: Using a curved needle and nylon thread, sew the sides of the closure down to the anchor braids first.
- Pro Tip: Pull the lace taut (but not too tight) as you sew to prevent buckling or rippling in the middle of the closure.
Step 4: Install the Bundles
Once the closure is secure, begin sewing your wefted bundles onto the braided foundation. Start from the nape of the neck and work your way up using the “fold-over” method to keep the wefts flat. Sew until you meet the closure at the crown.
Step 5: The Final Melt
Use a wax stick and a hot comb to press the hair at the “roots” of the closure flat. This eliminates the “wiggy” hump and ensures a seamless transition between the closure and the rest of the weave.
Frequently Asked Questions (People Also Ask)
How long does a lace closure sew in last?
With proper maintenance, a lace closure sew in typically lasts between 6 to 8 weeks. While the hair extensions themselves can be reused for up to a year (if high quality), the installation needs to be taken down or tightened as your natural hair grows underneath to prevent matting.
Does a lace closure damage your hairline?
No. In fact, a lace closure is one of the safest options for your edges. Because it is sewn onto braids behind the hairline—and rarely requires glue on the skin—it puts zero tension on your delicate baby hairs compared to frontals or 360 wigs.
How many bundles do I need with a closure?
For a natural look with lengths 12″-16″, you typically need 2 bundles. For lengths 18″-24″, 3 bundles are recommended. If you are going for an extra full look or lengths over 26″, you may need 4 bundles alongside your closure.
Conclusion
A lace closure sew in is the ultimate protective style for 2025, offering a flawless look that fits any lifestyle. By understanding what is a lace closure and mastering the installation technique, you can achieve a salon-quality finish that protects your natural crown while turning heads.
Ready to start? Always prioritize high-quality human hair closures with thin lace (HD or Transparent) to ensure your install looks undetectable and lasts as long as possible.
Remember to visit our social media pages Hair Luxury now so you don’t miss out on the day’s deals!!!
Phone/WhatsApp: +1 (206) 698‑5133
Instagram: RAW HAIR LUXURY COMPANY
TikTok: RAW HAIR LUXURY
Email: Rawhairluxury.us
Website: rawhairluxury.com


One Reply to “Mastering the Lace Closure Sew In: The Ultimate Guide to a Flawless Install”
The Ultimate Guide to Weft Hair Extensions: Volume, Length, and Glamour - Raw Hair Luxury
[…] is the OG method. For sew in weft hair extensions, the stylist first braids your natural hair into tiny cornrows. These braids act as the […]