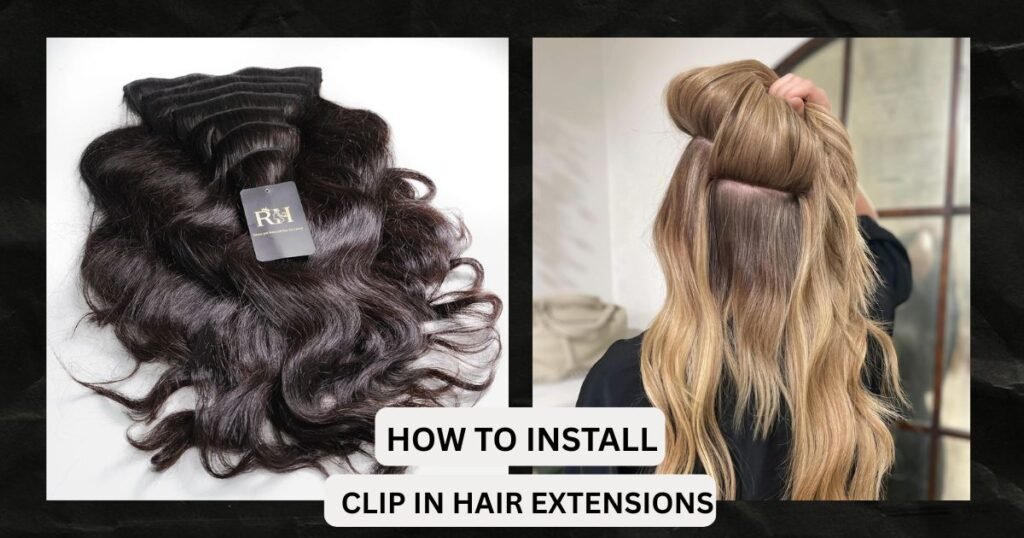
Have you ever dreamed of having long, voluminous, cascading hair without spending years growing it out or hours sitting in a salon chair? You are not alone. The secret to an instant transformation lies in learning how to install clip in hair extensions properly.
Unlike permanent bonding methods or sew ins, clip ins are quick, non-damaging, and give you the ultimate flexibility to change your look in minutes. Whether you are a complete beginner or looking to refine your technique for a seamless blend, this comprehensive guide will walk you through the exact steps to achieve professional level results at home.
Understanding Clip In Hair Extensions
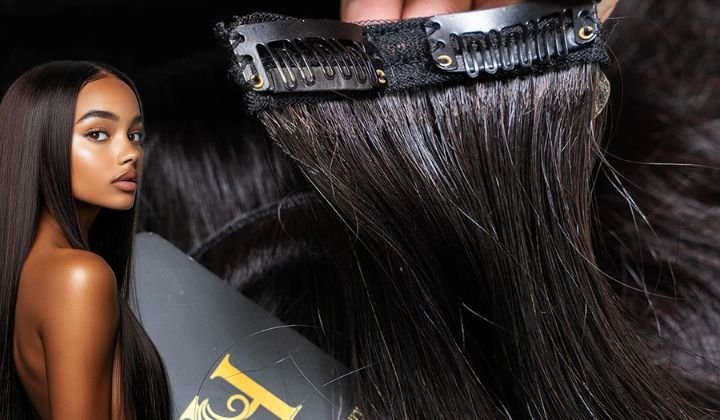
Before diving into the installation process, it is essential to understand exactly what you are working with. Clip in hair extensions are a temporary hair solution designed as wefts (sections of hair) with small, pressure sensitive clips sewn onto the base.
These clips often feature a silicone strip, which protects your natural hair and prevents the weft from slipping. Because they do not require glue, heat, or tape, they are widely considered the safest extension method for your natural hair.
Why Choose Clip-Ins?
- Versatility: Switch from a bob to waist length waves in under 10 minutes.
- Safety: Zero damage to your natural follicles if worn correctly.
- Cost-Effective: A one time investment that lasts for months (or years) with proper care.
How to Purchase Clip In Hair Extensions for the Best Results
The success of your installation actually begins before you even open the box. Knowing how to purchase clip in hair extensions that match your hair type is crucial for a natural look. If the extensions don’t match your texture or density, no amount of styling will make them look real.
Key Factors to Consider:
- Material Matters: Always look for 100% Remy human hair. This ensures the cuticles are aligned, keeping the hair soft, smooth, and tangle free. Unlike synthetic options, human hair can be heat styled and washed just like your own hair.
- Weight and Density: Sets range from 100g to 250g. If you have fine hair, a 120g set is sufficient. If you have thick, blunt cut hair, you may need 200g+ to ensure the extensions blend without leaving a visible “shelf” where your natural hair ends.
- Color Matching: Match the extension color to the ends of your hair, not the roots. This creates a seamless transition, especially if you have a balayage or ombre style.
Tools and Preparation
As any top stylist will tell you, preparation is 90% of the work. To master how to install clip in hair extensions, gather these essentials before you start:
- Your Clip In Set: Organize the wefts by width (1 clip, 2 clip, 3 clip, 4 clip).
- Tail Comb: Essential for creating clean, sharp horizontal partings.
- Sectioning Clips: To hold your natural hair up and out of the way.
- Detangling Brush: A loop brush or paddle brush to smooth hair before and after application.
- Mirror: Ideally, use a double mirror setup to see the back of your head.
- Teasing Brush (Optional): Helpful for creating a base if you have very silky, fine hair.
Pre-Installation Tip: Start with clean, dry hair. While extensions can grip slightly dirty hair, excessive oil can cause slippage. If you plan to curl your hair, it is often easier to curl your natural hair and the extensions separately before installing them, then touch up the blend afterwards.

Step-by-Step: How to Install Clip In Hair Extensions
Ready to transform your look? Follow this detailed breakdown to install your extensions invisibly and securely.
Step 1: Prep and Section Your Hair
Begin by brushing your own hair thoroughly to remove any tangles. Work from the ends upward to prevent breakage. Next, organize your wefts. You will typically have larger wefts for the back of the head and smaller pieces for the sides.
Create your first parting at the nape of your neck, about an inch or two above the hairline. Use your tail comb to make a clean horizontal line from ear to ear. Clip the rest of your hair up securely on top of your head.
Step 2: Install the Foundation Weft
Take a 2 clip or 3 clip weft (depending on the width of your neck). Open all the clips.
- Pro Technique: If you have fine hair, lightly backcomb (tease) the roots of the sectioned hair and spray a little hairspray. This gives the clips something to “bite” into.
- Insert the middle clip into the center of the parted section first and snap it shut.
- Pull the weft flat against your scalp and secure the side clips.
- Check: Run your fingers along the weft to ensure there are no bumps. It should lie completely flat.
Step 3: Layering (The “Stacking” Method)
Release a layer of your natural hair about one inch thick over the first weft. This layer of hair covers the clips you just installed. Create a new horizontal parting above this layer.
Select a wider weft (usually 3 or 4 clips) for this section, as this is typically the widest part of your head (between your ears). Repeat the process:
- Open clips.
- Center the weft.
- Secure middle clip, then outer clips.
Continue this process, moving up the back of the head until you reach the widest part (the crown area). Ensure you leave enough natural hair at the top (the “crown”) to completely cover the highest weft.
Step 4: Framing the Face (Side Wefts)
Once the back is done, it’s time to tackle the sides. This step is crucial for blending the length around your face so the front doesn’t look disconnected from the back.
- Create a horizontal part above your ear, leaving about an inch of hairline free so the clips don’t show when you tuck your hair behind your ears.
- Use the smaller 1-clip or 2-clip wefts here.
- Repeat on the opposite side.
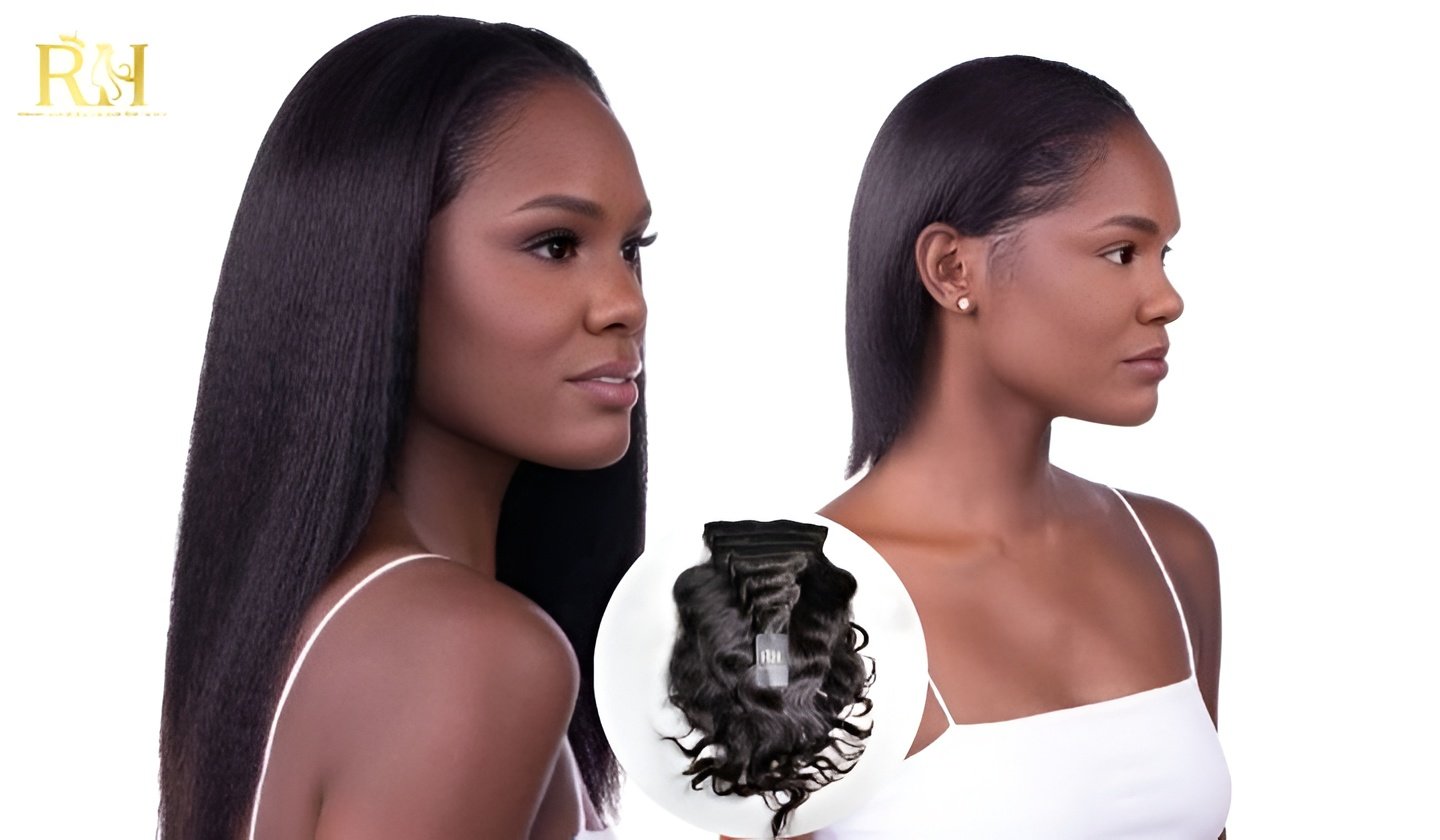
Step 5: The Final Blend
Release the top section of your natural hair. Use your fingers or a brush to gently merge your natural strands with the extensions.
- Styling Check: If your natural hair is straight and the extensions are wavy, the difference will be obvious. Now is the time to run a straightener or curling wand through the combined strands to “marry” the textures together.
How to Maintain Clip In Hair Extensions
Installing your extensions correctly is only half the battle. To keep your investment looking fresh, silky, and voluminous for the long haul, you must know how to maintain clip in hair extensions. Since they aren’t attached to your scalp permanently, they don’t receive natural oils, making hydration and gentle handling a priority.
1. The Golden Rule of Washing
Unlike your natural hair, you should not wash clip ins frequently. Aim to wash them only after 15 – 20 wears or when there is too much product buildup. Over-washing strips the moisture, leading to dryness.
- Method: Use lukewarm water and a sulfate-free shampoo. Do not rub or scrub the hair vigorously. Instead, gently squeeze the suds through the hair in a downward motion.
2. Deep Conditioning is Mandatory
Because the hair is no longer connected to a root system, it relies entirely on you for moisture. Every time you wash your extensions, apply a high quality, deep conditioning mask. Let it sit for at least 10 – 20 minutes before rinsing. This keeps the cuticles smooth and shiny.
3. Proper Brushing
Always brush your extensions before and after wearing them. Use a wide tooth comb or a brush designed for extensions. Start at the very ends and slowly work your way up to the clips. This prevents snapping and shedding. Never brush the extensions when they are soaking wet, as this is when the hair is most fragile.
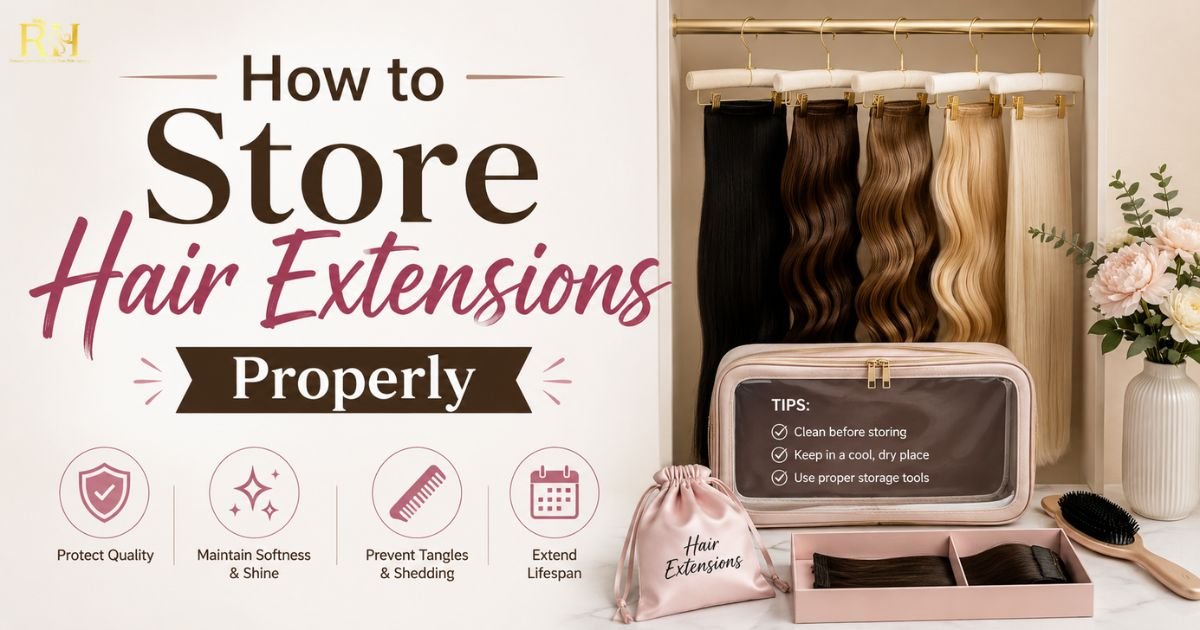
4. Smart Storage
Never throw your extensions in a drawer after a night out. To maintain their shape:
- Close all the clips (to prevent them from tangling in the hair).
- Brush them out gently.
- Store them in a silk bag, a dedicated extension box, or hang them on an extension hanger.
- Keep them in a cool, dry place away from direct sunlight, which can fade the color over time.
5. Heat Management
While high-quality human hair extensions can handle heat, excessive styling will shorten their lifespan. Always use a heat protectant spray before using curling irons or straighteners. Try to use a lower heat setting (below 350°F/180°C) whenever possible.
Conclusion
Learning how to install clip in hair extensions is a game-changer for your beauty routine. It empowers you to achieve salon-quality volume and length at home, without the commitment or cost of permanent methods.
By choosing the right set when you purchase clip in hair extensions, following a meticulous installation process, and adhering to a strict routine on how to maintain clip in hair extensions, you can enjoy flawless hair that boosts your confidence instantly. With a little practice, you’ll be able to clip in and go in under five minutes—leaving everyone wondering what your secret is.
🔥Remember to visit our social media pages Hair Luxury now so you don’t miss out on the day’s deals!!!🔥
📲Phone/WhatsApp: +1 (206) 698‑5133
🛜Instagram: RAW HAIR LUXURY COMPANY
🌐TikTok: RAW HAIR LUXURY
📧 Email: Rawhairluxury.us
🌐Website: rawhairluxury.com