
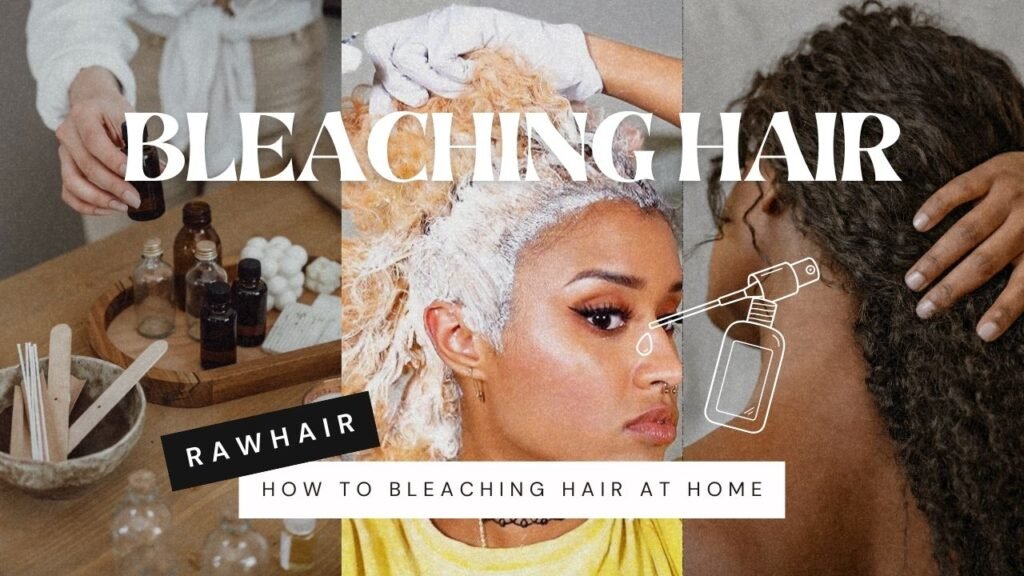
How to Prepare for Bleaching Your Hair for Stronger, Healthier Results
Bleaching can deliver stunning transformation, but the difference between vibrant blonde and severe breakage often comes down to preparation. Learning how to prepare for bleaching your hair properly is the single most important step in achieving safe, predictable results.
Most people focus on the bleaching process itself. However, professionals know that pre bleach hair with hydrogen peroxide care determines how well your hair tolerates chemical lifting. When strands are strong, hydrated, and balanced, bleaching becomes more controlled and significantly less damaging.
If your goal is to prevent damage before bleaching and maintain healthy hair long term, preparation must begin weeks in advance. This comprehensive guide explains exactly how to prepare hair for bleaching using expert strategies grounded in hair science and real-world salon experience.
Why Preparation Matters Before Bleaching
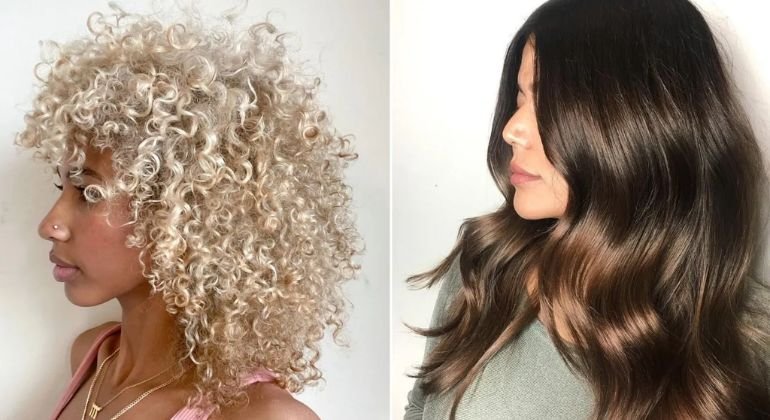
Bleach works by opening the cuticle and dissolving natural pigment. This chemical reaction inevitably stresses the internal protein structure of the hair shaft. Without hair strengthening before bleaching, strands can become brittle, porous, and prone to snapping.
When you prepare for bleaching your hair properly, you:
- Improve elasticity and flexibility
- Increase moisture retention
- Strengthen internal protein bonds
- Support even color lifting
- Reduce breakage risk
Preparation is not optional. It is the foundation of bleaching hair safely.
Healthy hair before bleaching reacts more predictably to lightening, processes more evenly, and recovers faster afterward.
How to Prepare Hair for Bleaching: 3 – 4 Weeks Before
The ideal time frame to prepare for bleaching your hair is at least three to four weeks before your scheduled lightening session.
- Begin Deep Conditioning Before Bleaching
Deep conditioning before bleaching replenishes lost moisture and improves flexibility. Hydrated hair bends without snapping, which is critical during chemical exposure.
Use intensive conditioning treatments twice per week. Focus on:
- Mid-lengths and ends
- Hydration-rich formulas
- Avoiding heavy product buildup
Consistent deep conditioning before bleaching significantly improves overall resilience.
2. Start Hair Strengthening Before Bleaching
Hair strengthening before bleaching involves reinforcing keratin structure. Protein treatment before bleaching helps rebuild weak areas and reduce porosity.
Use light to moderate protein treatments once weekly. Avoid overuse, as excessive protein can make hair stiff.
Balanced strength and softness are the goal.
3. Reduce Heat and Chemical Stress
To prepare for bleaching your hair effectively, eliminate unnecessary stress. Avoid:
- Flat irons and curling wands
- Chemical straightening
- Perm treatments
- Frequent coloring
Every additional stressor weakens strands and makes it harder to prevent damage before bleaching
Scalp Preparation Before Bleaching
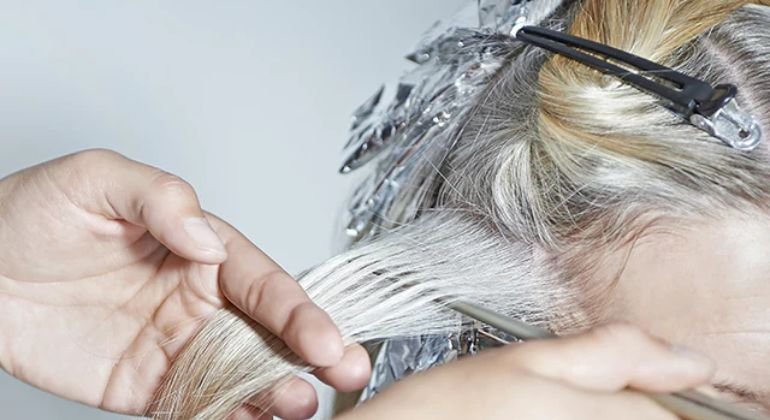
Many guides overlook scalp preparation before bleaching, yet scalp health plays a major role in safe lightening.
A healthy scalp ensures:
- Even product distribution
- Reduced irritation
- Better overall comfort
Avoid washing your hair 24 – 48 hours before bleaching. Natural oils create a protective barrier that helps prevent irritation.
If you experience flaking, itching, or sensitivity, address these concerns before proceeding. Bleach should never be applied to a compromised scalp.
Preparing your scalp is part of learning how to prepare hair for bleaching properly.
The Hair Elasticity Test: A Crucial Step
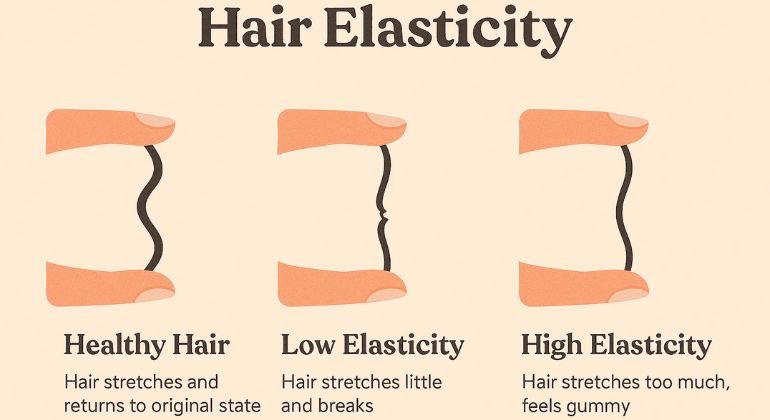
Before you prepare for bleaching your hair, perform a simple hair elasticity test.
How to test elasticity:
- Wet a small strand
- Gently stretch it
- Observe how it reacts
Healthy hair stretches slightly and returns to shape. If it snaps quickly or stretches excessively without returning, it needs repairing hair before lightening.
This test determines whether additional pre bleach hair care is necessary before moving forward.
Repairing Hair Before Lightening
If hair feels rough, dry, or weak, repairing hair before lightening is essential.
Focus on:
- Weekly protein treatment before bleaching
- Intensive moisture masks
- Leave-in conditioners for daily support
- Trimming split ends
Repairing hair before lightening ensures that when you prepare for bleaching your hair, the structure can tolerate chemical exposure.
Skipping repair increases breakage risk significantly.
🔥Contact us for more information!!!🔥
📲Phone/WhatsApp: +1 (206) 698‑5133
🛜Instagram: RAW HAIR LUXURY COMPANY
📧 Email: Rawhairluxury.us
🌐Website: rawhairluxury.com