
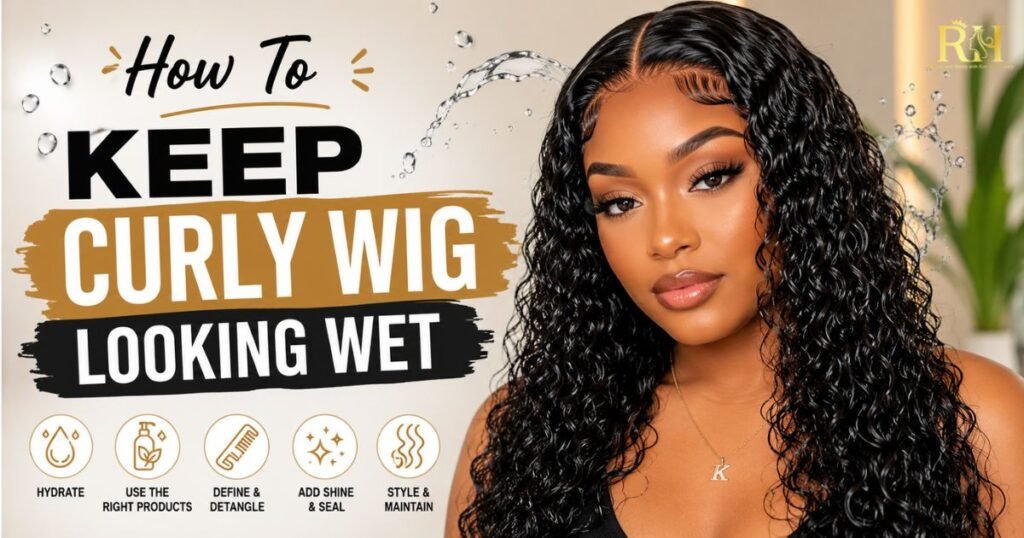
Is your curly wig looking dry, frizzy, or constantly tangled? The most common reason is a lack of moisture. Fortunately, restoring soft, defined curls is easier than you might think.
Curly wigs are loved for their volume, versatility, and effortless beauty, but without proper care, they can quickly become dry, lose their curl definition, and tangle more easily. One of the best ways to revive your wig is by creating a wet look a styling technique that enhances curl definition while keeping the hair hydrated and glossy.
In this guide, you’ll learn how to achieve and maintain the perfect wet look for your curly wig, along with expert tips to keep your curls soft, bouncy, and tangle-free.
Option 1: Hydrate and Define
This method focuses on restoring moisture while enhancing curl definition. Lightly mist your wig with water until it’s damp, then apply a curl-defining gel evenly to lock in hydration and create a glossy, wet-look finish.
Step 1: Damp your hair with water
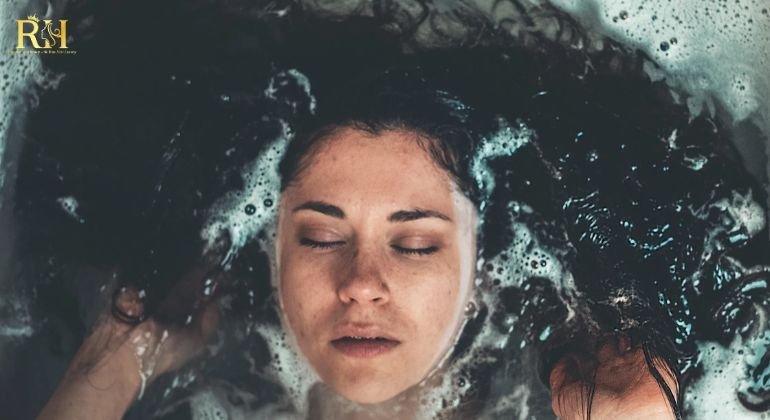
Lightly mist your curly wig with water using a spray bottle until it’s damp, not soaking wet. A slightly damp wig allows styling gel to distribute evenly and define the curls without sliding off. If the wig becomes too wet, let it air-dry for a few minutes before styling.
Step 2: Detangle the wig
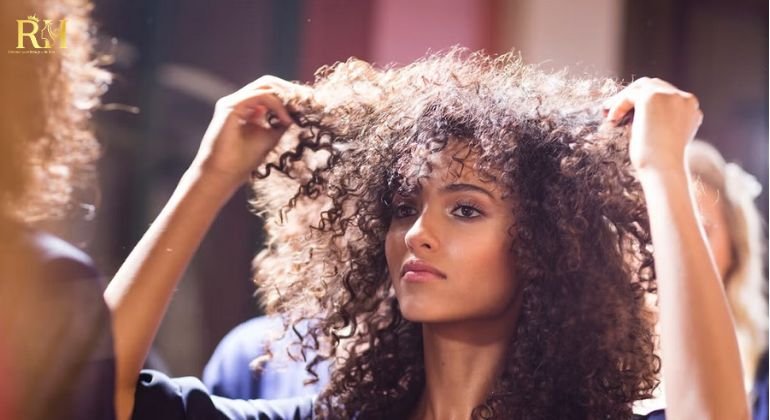
Curly wigs tangle more easily than straight styles, so detangle them before styling. Use a wide-tooth comb or your fingers, starting at the ends and working upward to minimize shedding and breakage. For stubborn knots, gently separate them with your fingers instead of pulling.
Step 3: Choose a gel
Choose a lightweight, non-sticky gel to create a glossy wet look without weighing down the curls. If you don’t have gel, a leave-in conditioner, curl mousse, or styling foam also works well to hydrate and define the curls.
Apply the product evenly, using only the amount your wig needs. Too much can leave buildup or make the curls look stiff, especially on shorter or less dense wigs.
Step 4: Apply gel to your curly wig
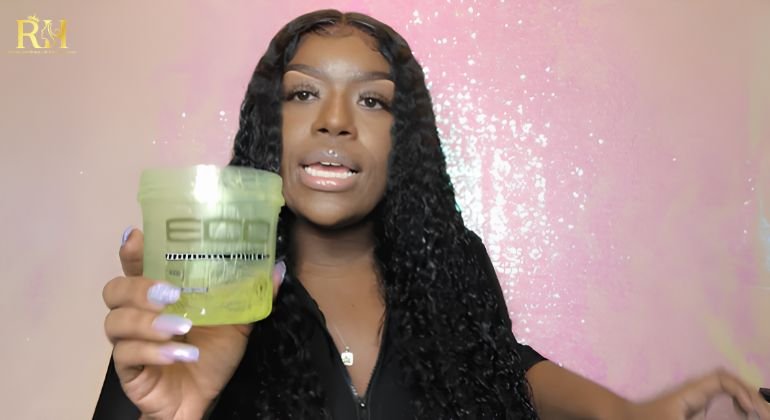
Work the gel through your wig from roots to ends, paying extra attention to the roots for a natural wet-look finish. Make sure every section is lightly coated without overloading the hair.
If needed, apply a little more product, but avoid using too much, as excess gel can leave the curls stiff or weighed down.
Step 5: Comb your wig
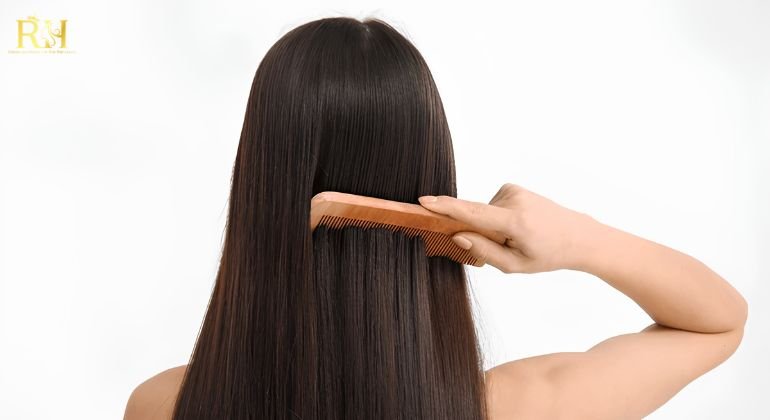
Once the product is evenly distributed, style your wig with the right tool for your desired finish. A wide-tooth or fine-tooth comb creates a softer, natural look, while a boar bristle brush delivers a sleek, polished finish. Gently comb from the roots to the ends to define the curls without causing frizz.
Step 6: Spritz on a glossing spray
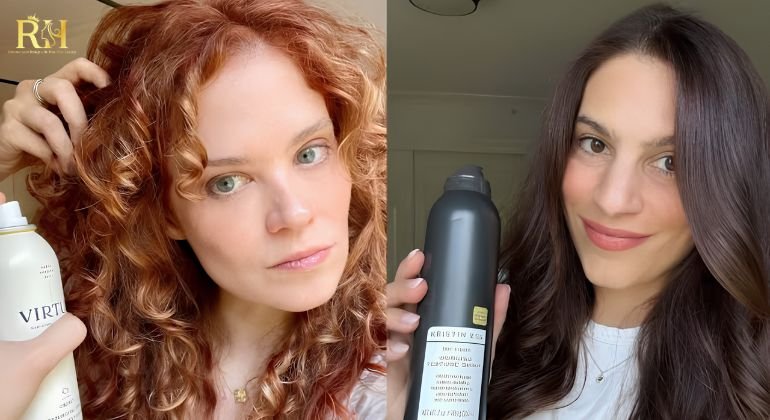
Finish the look with a lightweight glossing spray from roots to ends. It enhances shine, creates a realistic wet-look finish, and leaves your curls looking smooth, glossy, and hydrated without feeling heavy.
Step 7: Style your curly wig
Complete your look by styling the wig however you like. Wear it loose, add hair clips, or accessorize with a scarf to match your outfit. Finish with a light mist of hairspray to keep the curls defined and your style in place throughout the day.
Option Two
If you prefer a more natural wet look without using gel, this method focuses on restoring moisture while keeping your curls soft, defined, and healthy.
Step 1: Wash the Wig
Clean your wig with a sulfate-free shampoo to remove dirt and product buildup without stripping moisture. Rinse thoroughly and gently squeeze out excess water—never twist or wring the hair.
Step 2: Detangle
Section the wig and gently detangle using a wide-tooth comb or your fingers. Start at the ends and work your way up to prevent shedding and breakage.
Step 3: Deep Condition
Apply a moisturizing conditioner or natural oil and let it sit for several minutes before rinsing. Deep conditioning once a week helps reduce tangles and keeps curls soft and hydrated.
Step 4: Air-Dry
Allow the wig to air-dry naturally. Avoid excessive heat, which can dry out the hair and create frizz.
Step 5: Apply Curl Cream or Mousse
Work a water-based curl cream or mousse through the damp hair to define curls and create a long-lasting wet look without weighing the wig down.
Step 6: Add Hair Oil
Finish with a few drops of argan, coconut, olive, or jasmine oil to seal in moisture and add a healthy shine. Use only a small amount to avoid buildup.
Step 7: Style the Curls

Gently comb or finger-style the curls, then let the wig dry completely before creating your desired hairstyle.
Step 8: Finish Your Look
Once dry, wear your wig loose or style it into a ponytail, bun, or other favorite look while maintaining glossy, defined curls.
Curly Wig Care Tips
To keep your curly wig looking fresh:
- Don’t overwash your wig.
- Use sulfate-free shampoos and moisturizing products.
- Apply lightweight oils sparingly.
- Never detangle soaking-wet hair.
- Dry with a microfiber towel or soft cotton T-shirt instead of a regular towel.
Conclusion
Whether you choose the gel method or a moisture-based routine, the secret to a long-lasting wet look is proper hydration. With the right products and regular care, your curly wig will stay soft, shiny, defined, and beautifully tangle-free.
Ready to find your perfect match? Contact us today for expert advice and exclusive discounts on premium human hair extensions.
📲Phone/WhatsApp: +1 (206) 698‑5133
🛜Instagram: RAW HAIR LUXURY COMPANY
🌐Tik Tok: RAW HAIR LUXURY
📧 Email: Rawhairluxury.us
🌐Website: rawhairluxury.com