
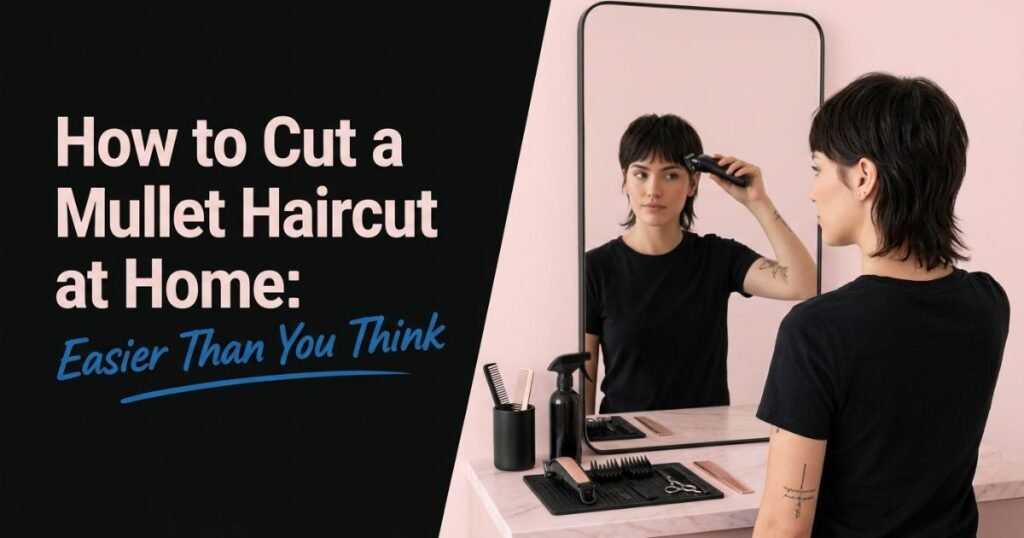
This guide will show you how to cut a mullet haircut at home step by step, including what tools you need, where to cut, how to blend the sections and the mistakes you should avoid.
What You Need to Cut a Mullet at Home
You do not need a professional salon setup.
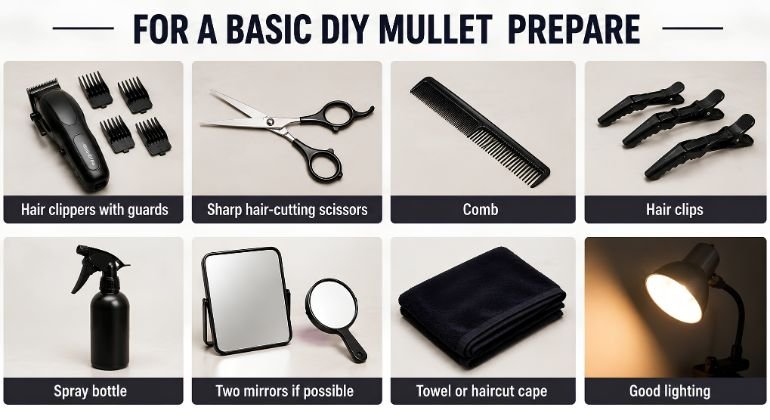
For a basic DIY mullet, prepare:
- Hair clippers with guards
- Sharp hair-cutting scissors
- Comb
- Hair clips
- Spray bottle
- Two mirrors if possible
- Towel or haircut cape
- Good lighting
A clipper with several guard sizes is especially useful because you can start longer and gradually make the sides shorter.
Important tip: Always start with a longer guard.
You can remove more hair later, but you cannot put it back.
Before You Cut: Decide What Type of Mullet You Want
Before picking up your scissors, decide how dramatic you want the haircut to be.
Classic Mullet
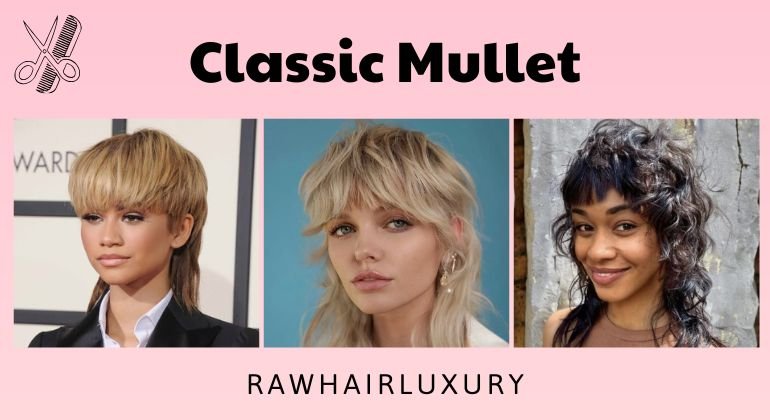
A classic mullet has:
- Shorter sides
- Medium-length hair on top
- Clearly longer hair in the back
- A noticeable contrast between the front and back
Modern Mullet
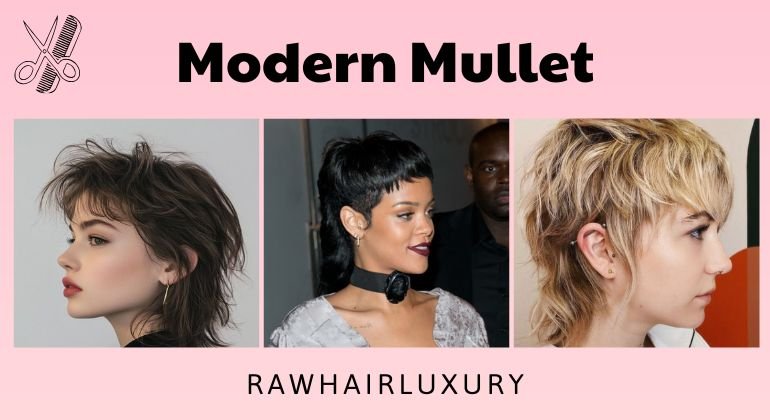
A modern mullet is usually softer.
The sides are not necessarily shaved very short, and the transition between the top and back is more blended.
If this is your first DIY haircut, a modern mullet is the safer option.
You have more room for mistakes because the difference between each section does not need to be extreme.
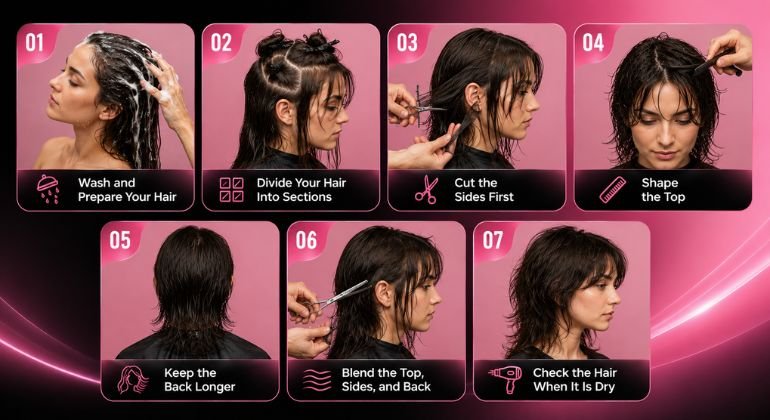
Step by step to cut a Mullet
Common DIY Mullet Mistakes
Cutting the Back Too Short
This is probably the biggest mistake.
The back is what gives a mullet its identity.
When in doubt, keep it longer.
Making the Sides Too Short
A very short fade can make the haircut look much more dramatic than expected.
If you are a beginner, start with a longer clipper guard.
Creating a Hard Line
A mullet needs contrast, but that does not mean the sections should look disconnected.
Spend time blending the transition.
Cutting Too Much at Once
This is the easiest way to ruin a DIY haircut.
Use the rule:
Cut less, check more.
You can always make another pass.
Is Cutting a Mullet at Home Really Easier Than You Think?
Yes, if you keep the first version simple.
You do not need to recreate a complex barber fade on your first attempt.
Start with:
- Longer sides
- A simple textured top
- A longer back
- Soft blending
Once you understand the basic shape, you can experiment with fades, sharper layers, more texture, or a more dramatic back.
If you like modern alternative hairstyles, you can also explore styles such as the wolf cut, which shares some of the layered and textured qualities of a mullet. Raw Hair Luxury’s Gen Z Hairstyles guide
Final Thoughts
Learning how to cut a mullet haircut at home does not have to be complicated.
The secret is not cutting everything at once.
Start with the sides, shape the top, protect the length in the back, and then spend time blending everything together.
Most importantly, take your time.
Your first DIY mullet does not need to be perfect. If you leave the hair slightly longer, you can always make adjustments later.
And if you decide you want a more dramatic transformation, a professional barber can refine the shape and create a more detailed fade.
Want more hairstyle inspiration and hair care tips? Explore the Raw Hair Luxury blog for guides on modern hairstyles, hair extensions, and styling ideas. If you are looking for premium hair for your next transformation, visit Raw Hair Luxury and discover hair designed for versatile styling.
📲Phone/WhatsApp: +1 (206) 698‑5133
🛜Instagram: RAW HAIR LUXURY COMPANY
🌐Tik Tok: RAW HAIR LUXURY
📧 Email: Rawhairluxury.us
🌐Website: rawhairluxury.com