
Your profile picture is often the first thing people notice before they read your name, bio, or experience. A strong photo can make your profile look more trustworthy, polished, and approachable, while a poorly lit or badly cropped image can make an otherwise good profile feel unfinished.
The good news is that you do not need an expensive camera or professional studio to take a great profile photo. A modern smartphone, good natural light, a clean background, and a few simple posing techniques are usually enough.
In this guide, you will learn how to take a good profile pic from start to finish, including how to choose lighting, position your camera, pose naturally, style your hair, choose the right background, and edit the final image without making it look artificial.
1. Start With Good Natural Lighting
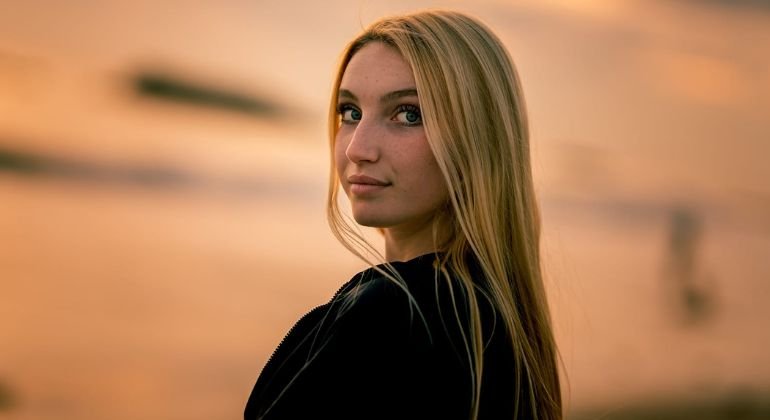
Lighting has a bigger impact on your profile photo than most people realize.
The easiest option is soft natural light. Stand near a large window or outside in an area with open shade. The goal is to create even light across your face without strong shadows.
Avoid standing directly under harsh midday sunlight. It can create deep shadows beneath your eyes, nose, and chin. Direct flash can also produce a flat appearance and distracting highlights.
For an indoor profile photo, try this setup:
- Face the window rather than standing with your back to it.
- Keep the light slightly in front of you.
- Turn your face gradually until both sides are evenly illuminated.
- Avoid extremely bright windows directly behind your head.
Adobe Express also recommends diffused lighting because it produces softer and more flattering results.
Simple rule: Fix the lighting before worrying about your background, outfit, or editing.
2. Choose a Clean Profile Photo Background
A good profile photo should make you the focal point.
Busy backgrounds can compete with your face. Cars, signs, crowded rooms, random objects, and strong patterns can make even a sharp portrait look messy.
A plain wall is often enough. You can also use an outdoor location with a distant background if your phone’s portrait mode creates a natural blur.
Try to position yourself several feet away from the background. This creates separation and helps the camera distinguish you from what is behind you.
Your background should complement your image rather than become part of the story.
For professional profiles, consider:
- A neutral wall
- A clean office
- A softly blurred outdoor setting
- A simple studio-style background
For Instagram or personal profiles, you have more creative freedom, but the same principle applies: avoid visual clutter.
3. Get the Framing Right
One of the most common mistakes when taking a profile picture is standing too far away from the camera.
Your face should be large enough to remain recognizable when the image is displayed as a small circle or thumbnail.
LinkedIn recommends that your face occupy a substantial portion of the image, with the face taking up at least around 60% of the frame.
For most profile photos, a head-and-shoulders composition works extremely well.
Leave a small amount of space above your head and avoid cutting through your chin, hairline, or shoulders.
If your platform displays a circular profile image, remember that the corners may not be visible. Keep important details such as your face and hair toward the center.
Use the Rule of Thirds
Turn on the grid in your phone’s camera settings.
Instead of automatically placing your face directly in the center, experiment with positioning your eyes around the upper third of the frame. A slightly off-center composition can look more natural and visually interesting.
However, do not force the rule of thirds if it makes the photo feel unnatural. A centered headshot can work very well for professional profiles.

4. Use a Better Camera Angle
Camera height and distance can dramatically change how your face looks.
For a natural profile photo, place the camera approximately at eye level. Avoid shooting from a very low angle because it can exaggerate the jaw and neck. A camera positioned too high can make the face look smaller.
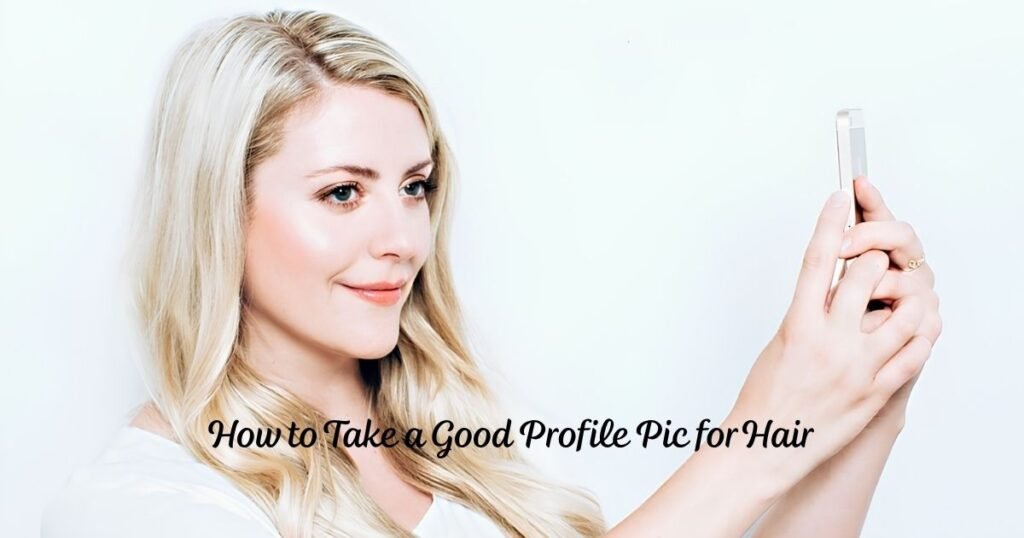
If possible, have another person take the picture instead of holding your phone in selfie mode.
Using the rear camera can give you better image quality on many smartphones. Put the phone on a tripod or stable surface if nobody is available to take the photo.
Do not hold the phone extremely close to your face. Step farther away and use a moderate focal length or slight zoom when appropriate. This generally produces a more natural perspective than an ultra-wide selfie camera.
5. Try Natural Profile Picture Poses
You do not need a complicated pose.
Start by turning your body slightly away from the camera while keeping your face toward the lens. Around a 30 to 45-degree body angle can create a more relaxed appearance.
Keep your shoulders down and avoid pulling them upward.
Then try several variations:
- Face the camera directly.
- Turn your body slightly to one side.
- Move one shoulder slightly forward.
- Tilt your head very slightly.
- Look directly into the lens.
- Take a few photos while naturally changing your expression.
The objective is not to find one “perfect” pose. It is to create several natural options and choose the one that looks most like you.
Digital Photography School similarly recommends experimenting with body angles and positioning rather than relying on one rigid pose.
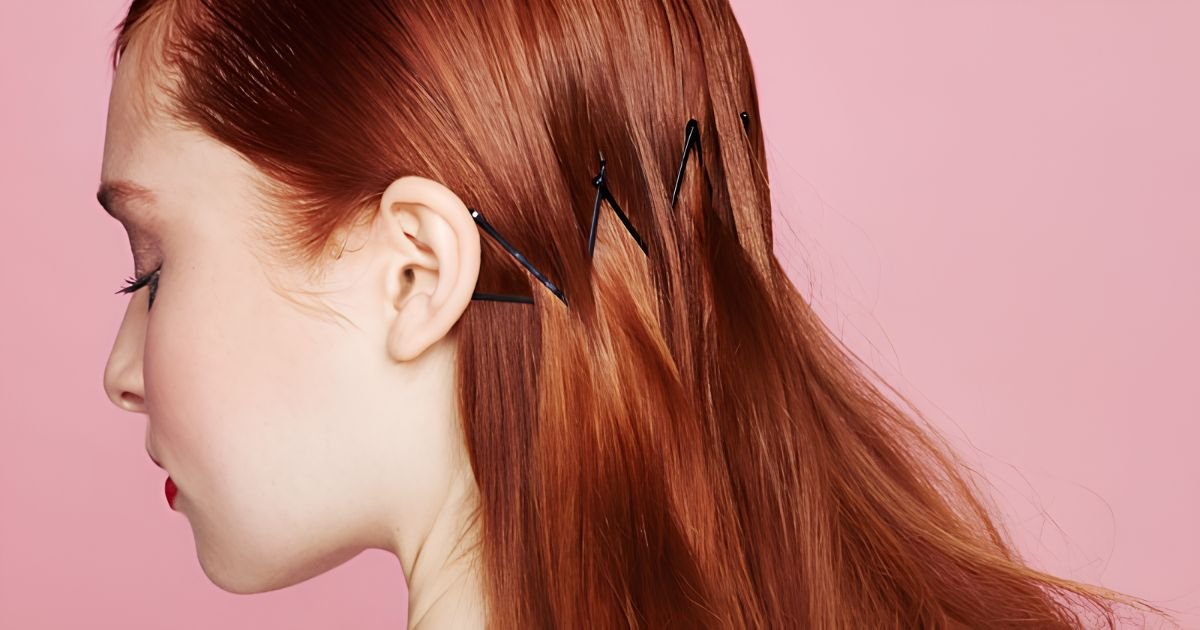
6. Style Your Hair Before Taking the Photo
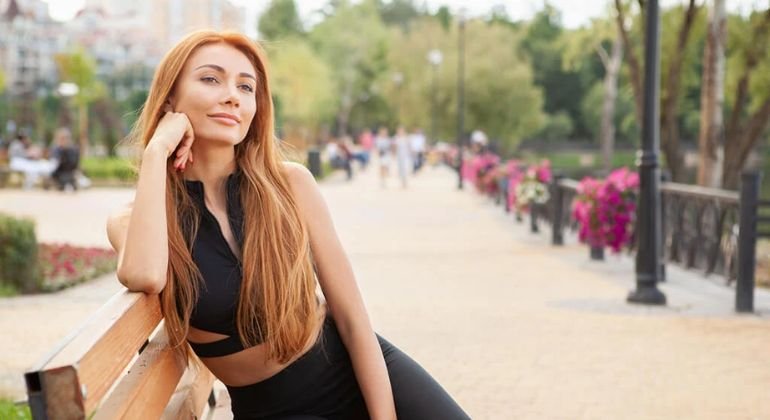
Hair occupies a significant part of a profile photo, especially when the image is cropped from the shoulders upward.
Before taking your photo, check your hair from the front, sides, and back if possible.
Look for:
- Flyaways that catch the light
- Uneven volume
- Hair covering your eyes
- Flattened roots
- Frizzy ends
- Extensions or wigs that need repositioning
You do not necessarily need an elaborate hairstyle. A clean ponytail, soft waves, straight hair, or a simple bun can all work depending on your personal style.
If you prefer quick hairstyles, simple options such as a scrunchie ponytail can create a polished appearance without requiring extensive styling.
If your profile represents your beauty business or personal brand, your hair can also become part of your visual identity. Choose a hairstyle that reflects the image you want people to remember.
Conclusion
Learning how to take a good profile pic is mostly about controlling a few fundamentals. Use soft lighting, choose a simple background, frame your face clearly, position the camera around eye level, relax your pose, and choose an expression that feels authentic.
Your hair and grooming also deserve attention because they strongly influence the overall appearance of a close-up portrait. A simple, well-styled look can make the finished image feel much more intentional.
You do not need a professional studio to get started. Your smartphone, a window, a clean background, and 20 minutes of experimentation can be enough to create a profile photo that looks confident and professional.
If you are looking for hair that photographs beautifully and helps complete your personal look, explore the latest styles and hair options from Raw Hair Luxury. You can also contact our team for product recommendations and styling guidance.
Ready for a better profile photo? Choose your hairstyle, find your best light, and take your next profile picture with confidence.
📲Phone/WhatsApp: +1 (206) 698‑5133
🛜Instagram: RAW HAIR LUXURY COMPANY
🌐Tik Tok: RAW HAIR LUXURY
📧 Email: Rawhairluxury.us
🌐Website: rawhairluxury.com